
Appearance
A constrained plate
A 60 by 30 plate with two 8 mm holes, symmetric about the centre, fully constrained. This is the sketch the next three tutorials build on.
The goal is the green Fully constrained in the status foot. Everything here is in service of that.
1. The outline
Click into the canvas so it has focus. Press R and click two opposite corners, roughly the proportions of the plate you want.
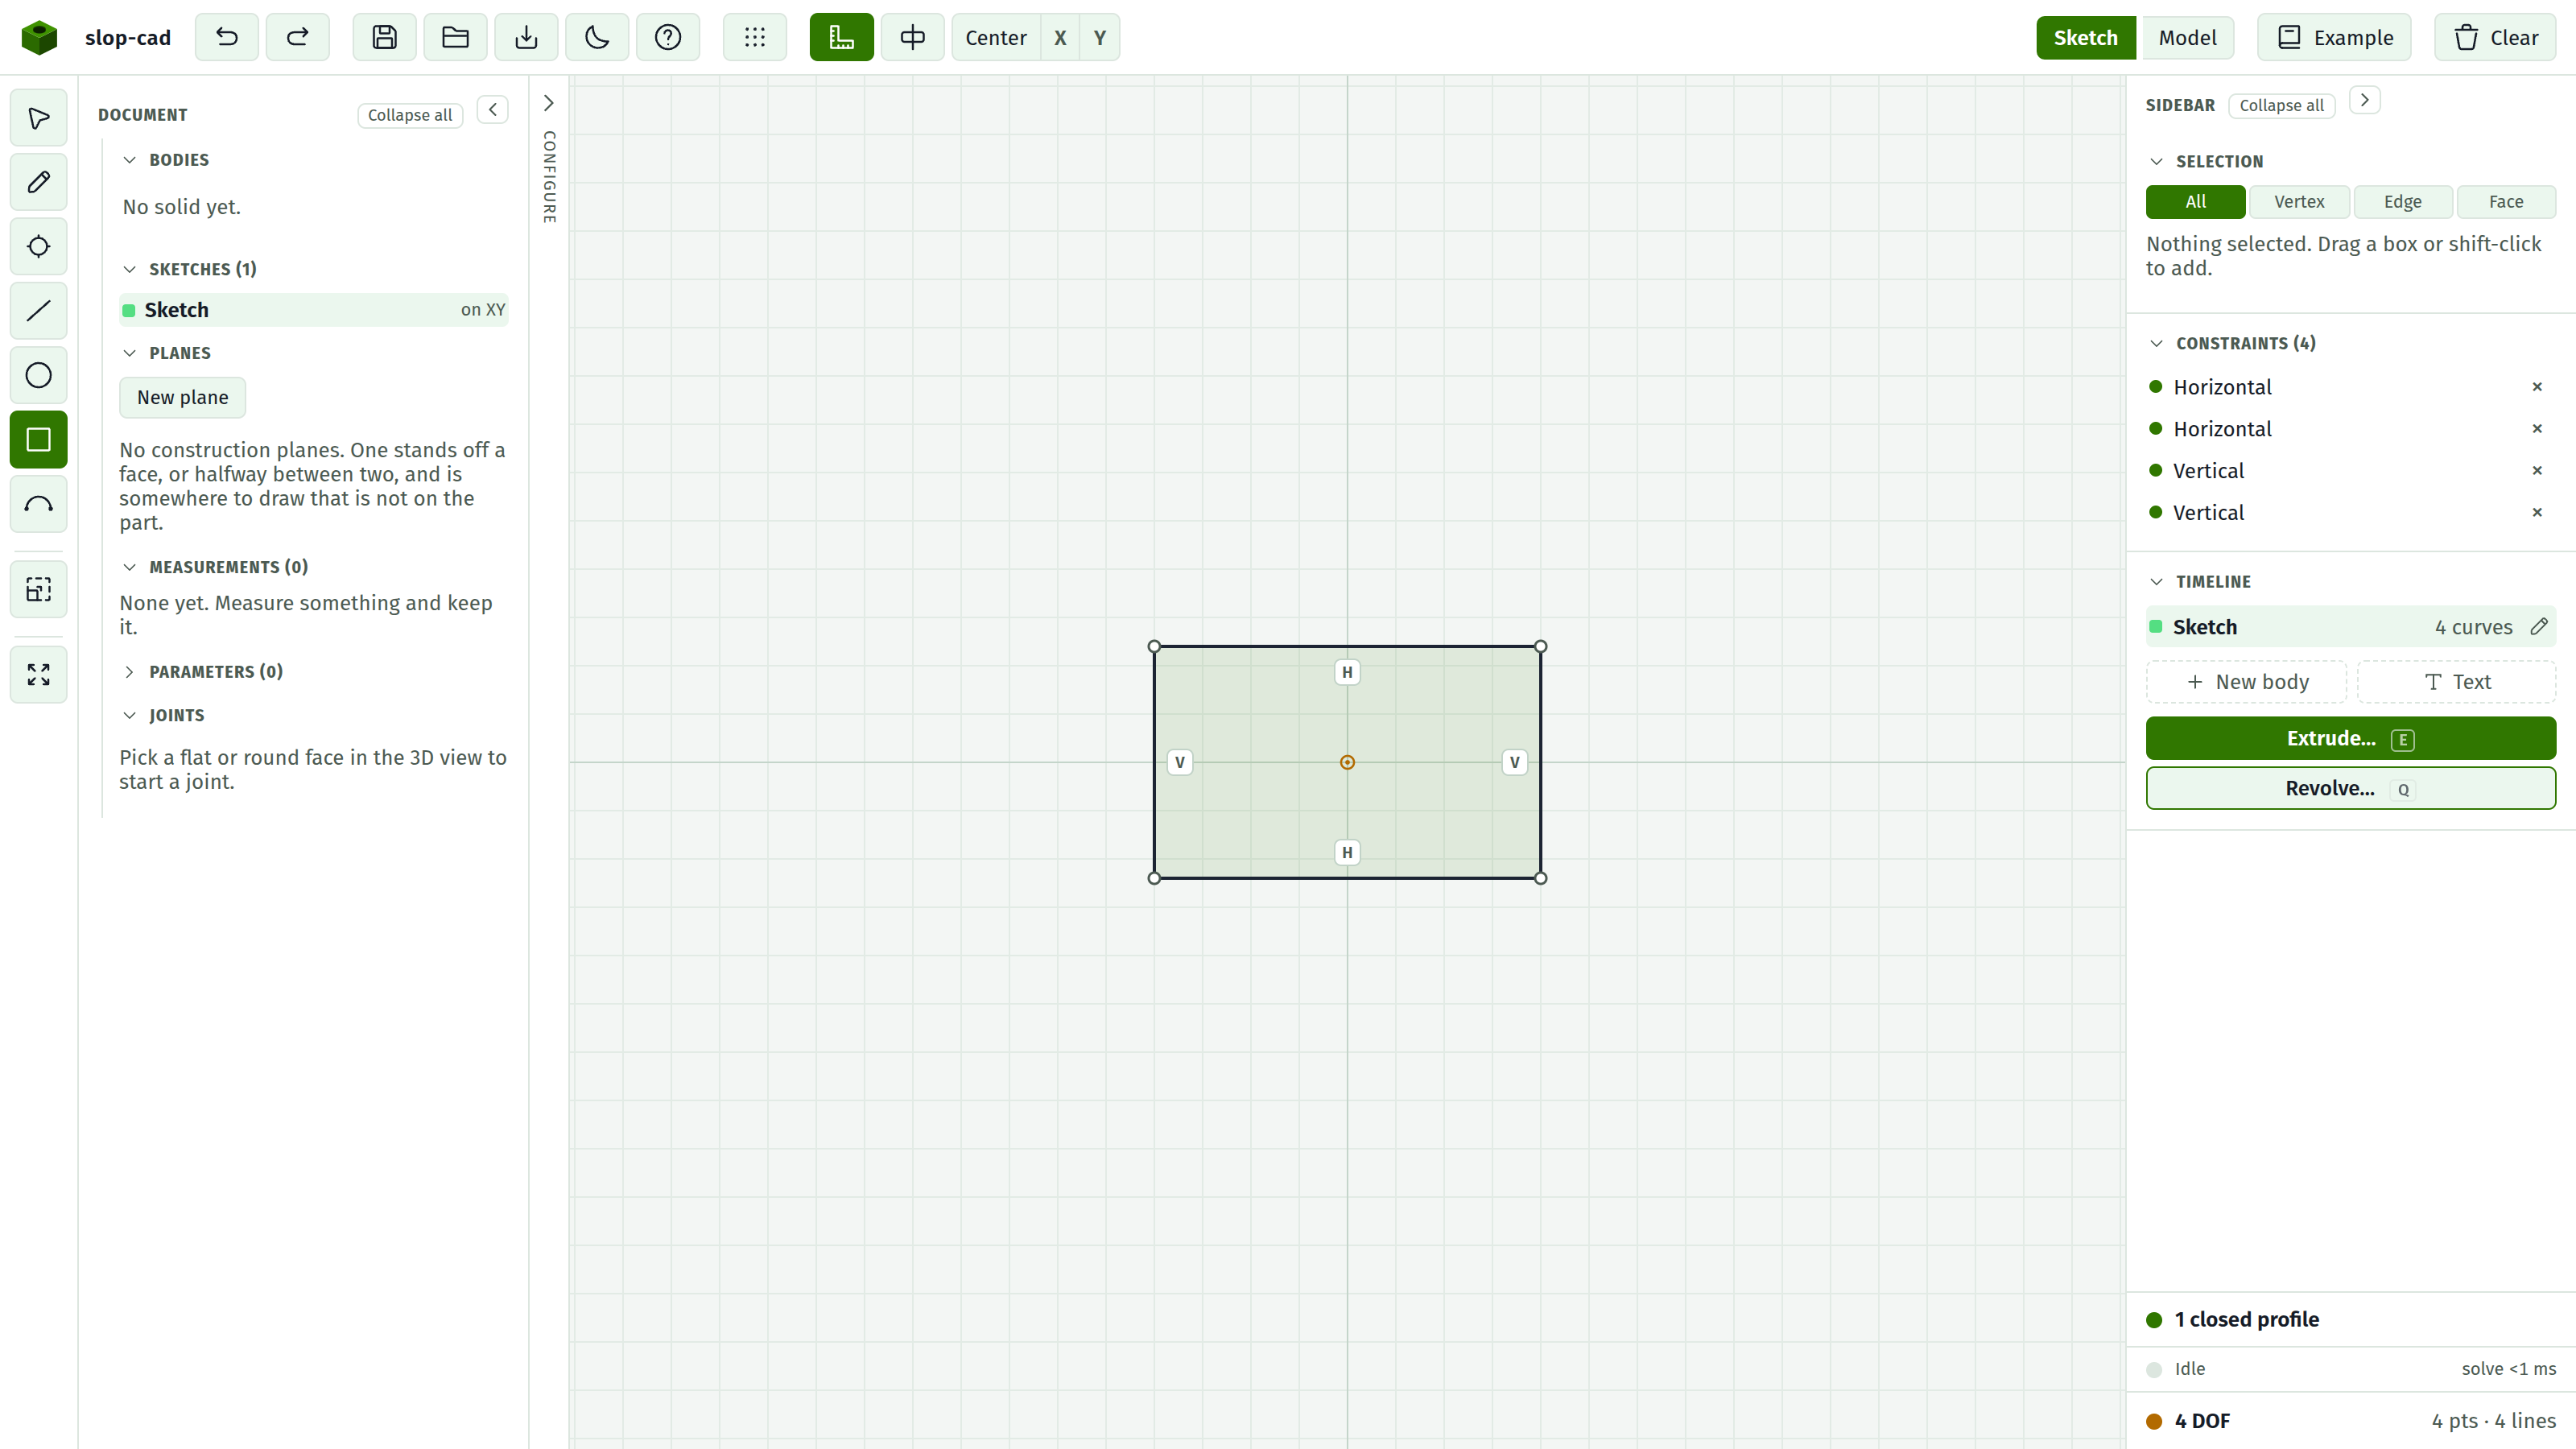
The Rectangle tool already added two Horizontal and two Vertical constraints, which is why the docket has four rows and you drew none of them.
The status foot reads a DOF count. The box is a box, and it can still be any size, anywhere.
2. Anchor it
Click the bottom-left corner point. Press Fix in the Selection section.
That corner is now nailed down. Without this the drawing keeps two degrees of freedom however carefully you dimension it, because the whole thing can still slide around.
One Fix per sketch is the usual pattern.
3. Size it
Click the bottom-left point, hold Shift, click the bottom-right point. Press Distance. The value field is already focused: type 60 and press Enter.
Same again on the two left-hand points, set to 30.
The status foot should now read Fully constrained in green.
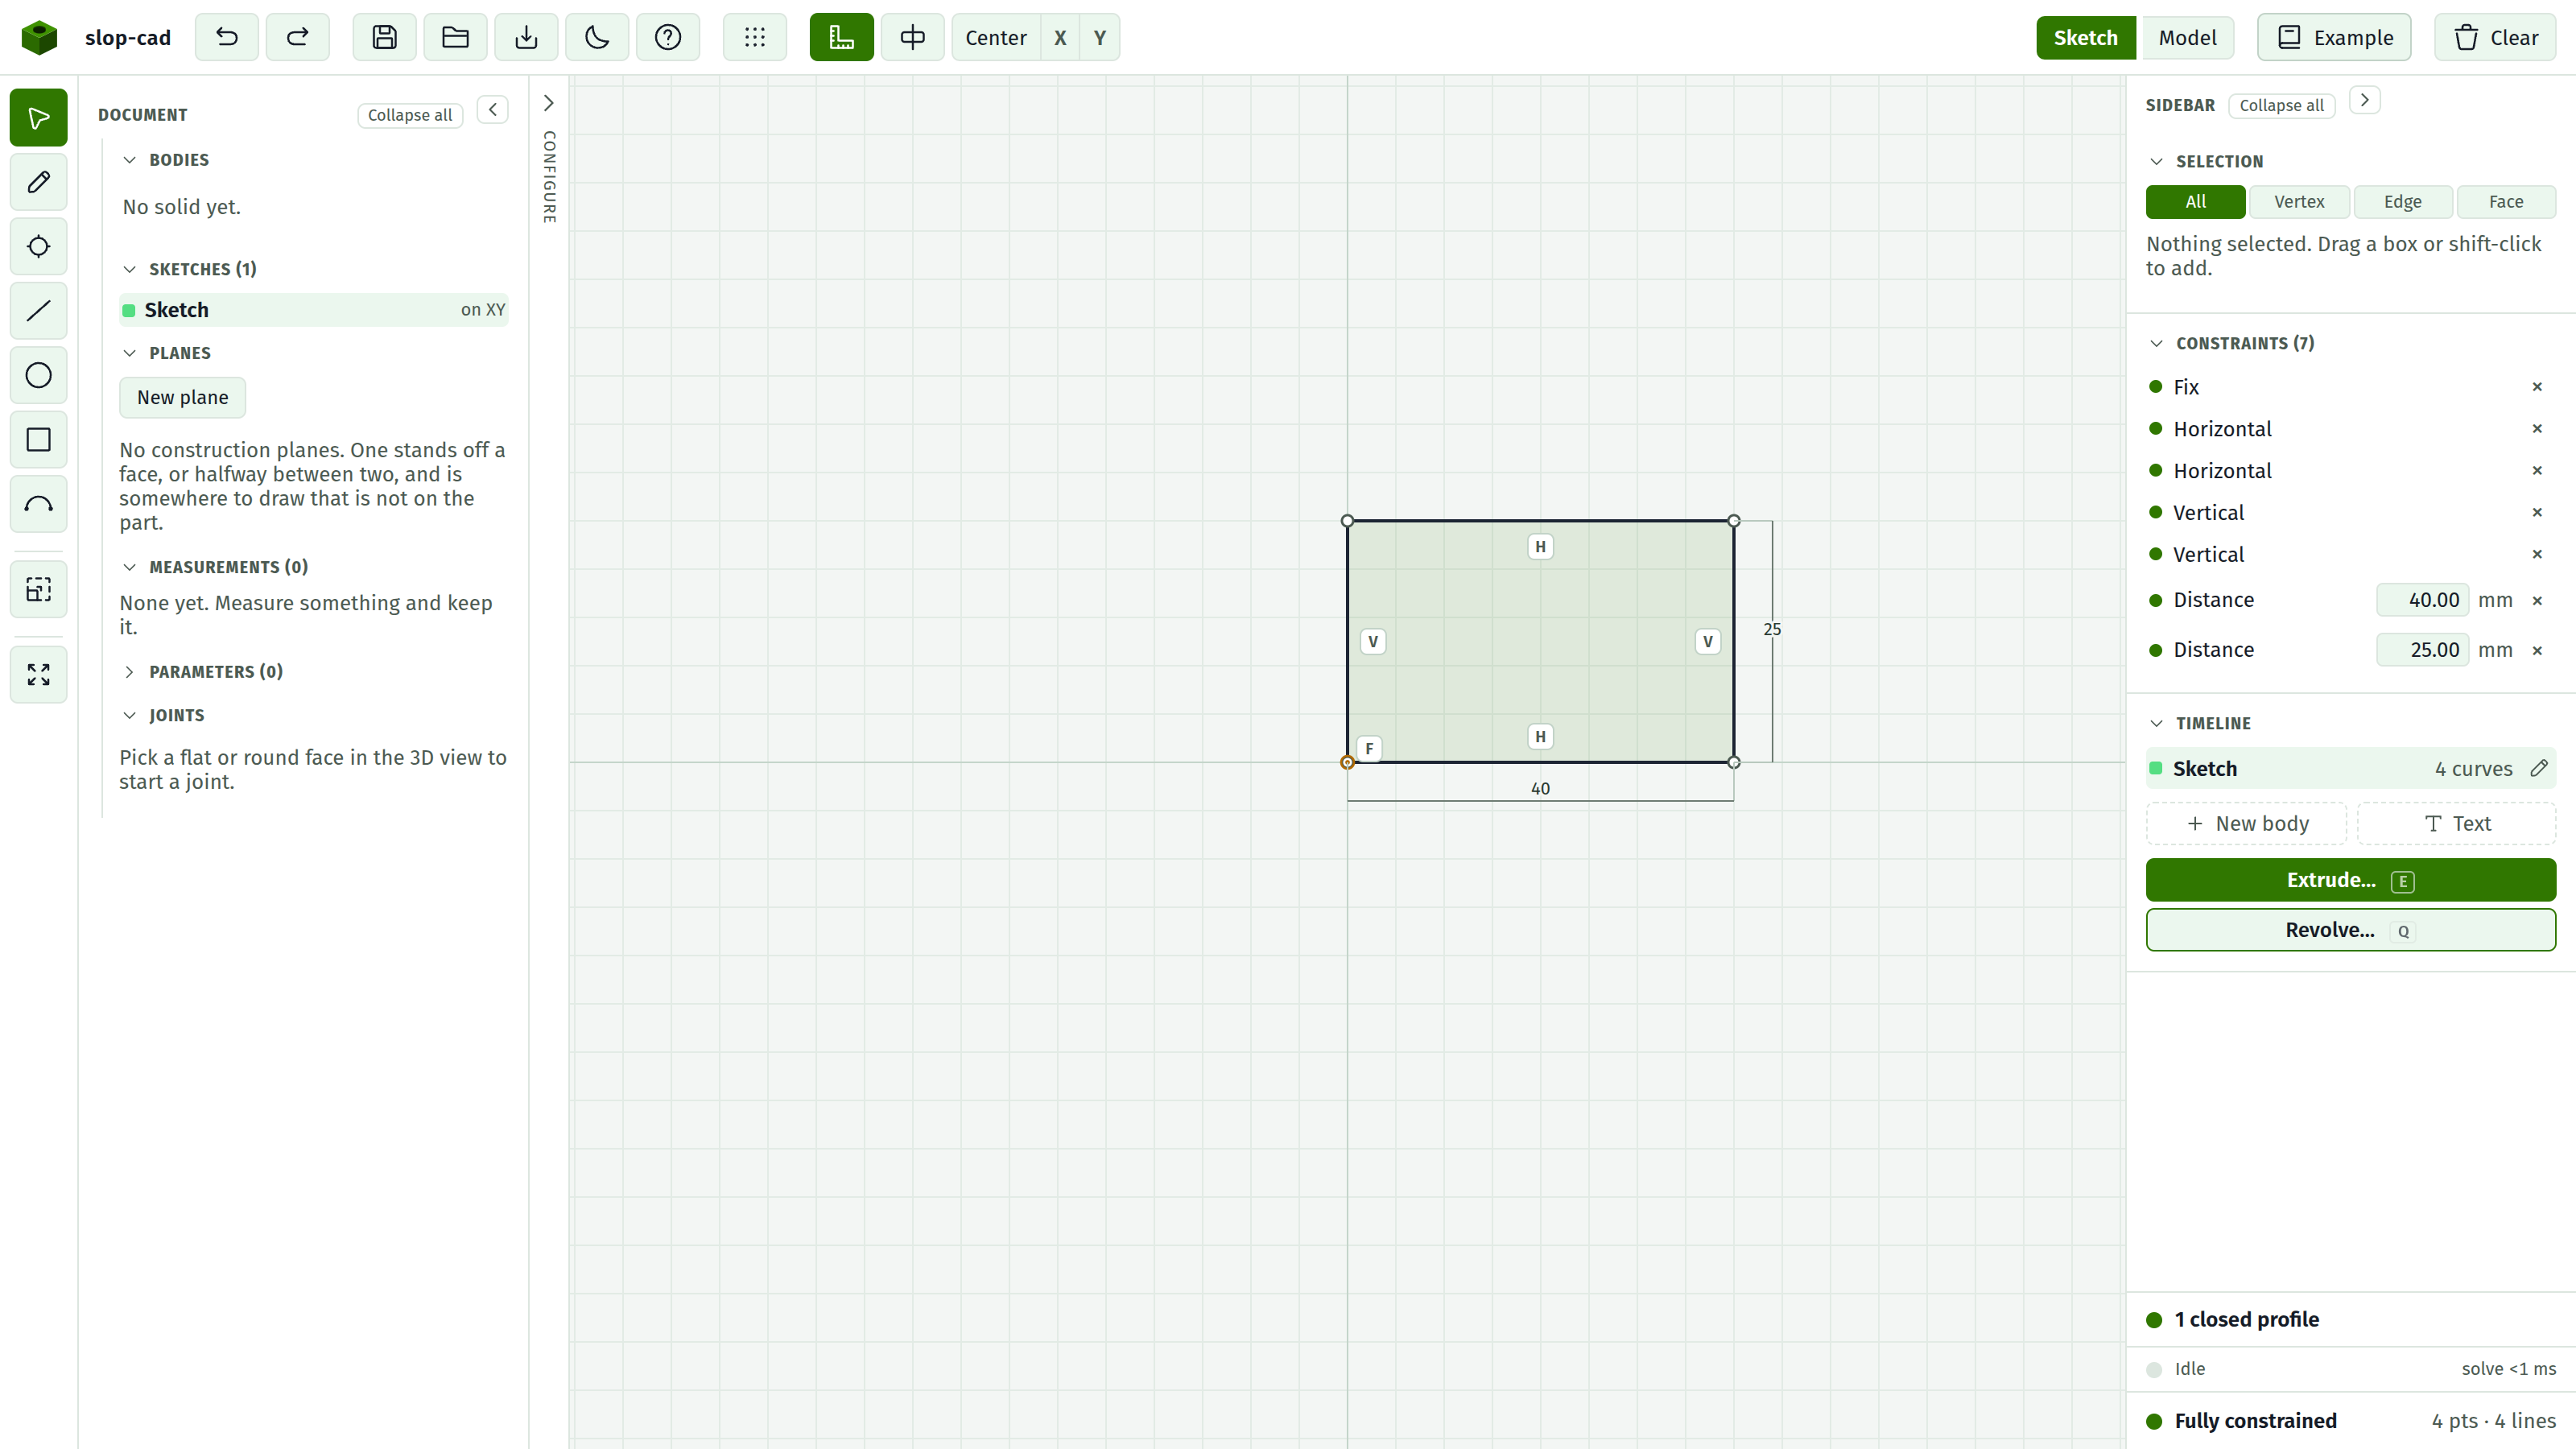
Six dimensions and constraints for a rectangle, and the payoff arrives in tutorial 5.
4. The first hole
Press C. Click somewhere in the left half of the plate, then click again to set a radius. Precision is irrelevant.
The profile row now reads 2 closed profiles. The circle is inside the rectangle, so it will be a hole rather than a second part.
The status foot went back to showing DOF: a new circle brings three, two for its centre and one for its radius.
Click the circle and press Diameter. Type 8.
Two degrees of freedom left, being where the centre sits.
5. Place it
Say where the hole is relative to the edges, rather than dragging it there.
Click the circle's centre point, then Shift-click the bottom edge line. Press Distance to line and set it to 15, half the plate height.
Now the centre and the left edge, Distance to line, 12.
Fully constrained again. The hole is 12 from the left and centred vertically, and it will stay that way whatever else changes.
6. The second hole, mirrored
Draw another circle in the right half.
Rather than dimensioning it separately, tie it to the first, so the pair stays a pair.
Same size. Click one circle, Shift-click the other, press Equal. One diameter now drives both.
Mirrored. The plate needs a centreline to mirror about. Select the top edge and the bottom edge, and press the midpoint button in the top bar. That drops a constrained midpoint on each.
Press D for the Pencil and draw a line between those two midpoints, snapping to each. That is your centreline.
Now select both circle centres and the centreline, exactly three things, and press Symmetric.
Fully constrained. The second hole has no dimensions of its own; it is defined entirely by its relationship to the first.
TIP
That is the difference between a drawing and a model. Dimension the second hole independently and it is in the right place today and on no other day. Make it Symmetric and it stays right when the plate changes width.
7. Check it holds
Drag the plate's top-right corner. Nothing moves: there is no freedom left.
Change the 60 in the docket to 80. The plate widens, and both holes move outward, staying symmetric, staying 12 from their respective ends.
Set it back to 60.
8. Keep it
Press Save. The next tutorial starts from here.
What you did
- Anchored the sketch with one Fix
- Sized it with Distance dimensions
- Placed a hole with Distance to line, relative to edges rather than in absolute coordinates
- Related the second hole to the first with Equal and Symmetric, so it needs no dimensions of its own