
Appearance
Rounding a body
Continuing from a pocket and a cut. Soften the part.
Blend last
Blending is the last thing you do. A blended face often cannot be blended again and cannot host a sketch, and rounding a face breaks any sketch already drawn on it.
If you still have features to add, add them first.
1. Round the top of the plate
Switch to Model, press Top to look straight down, set the select mode to Face4, and click the top of the plate.
In the Selection section, type 3 into Rim and press Fillet rim.
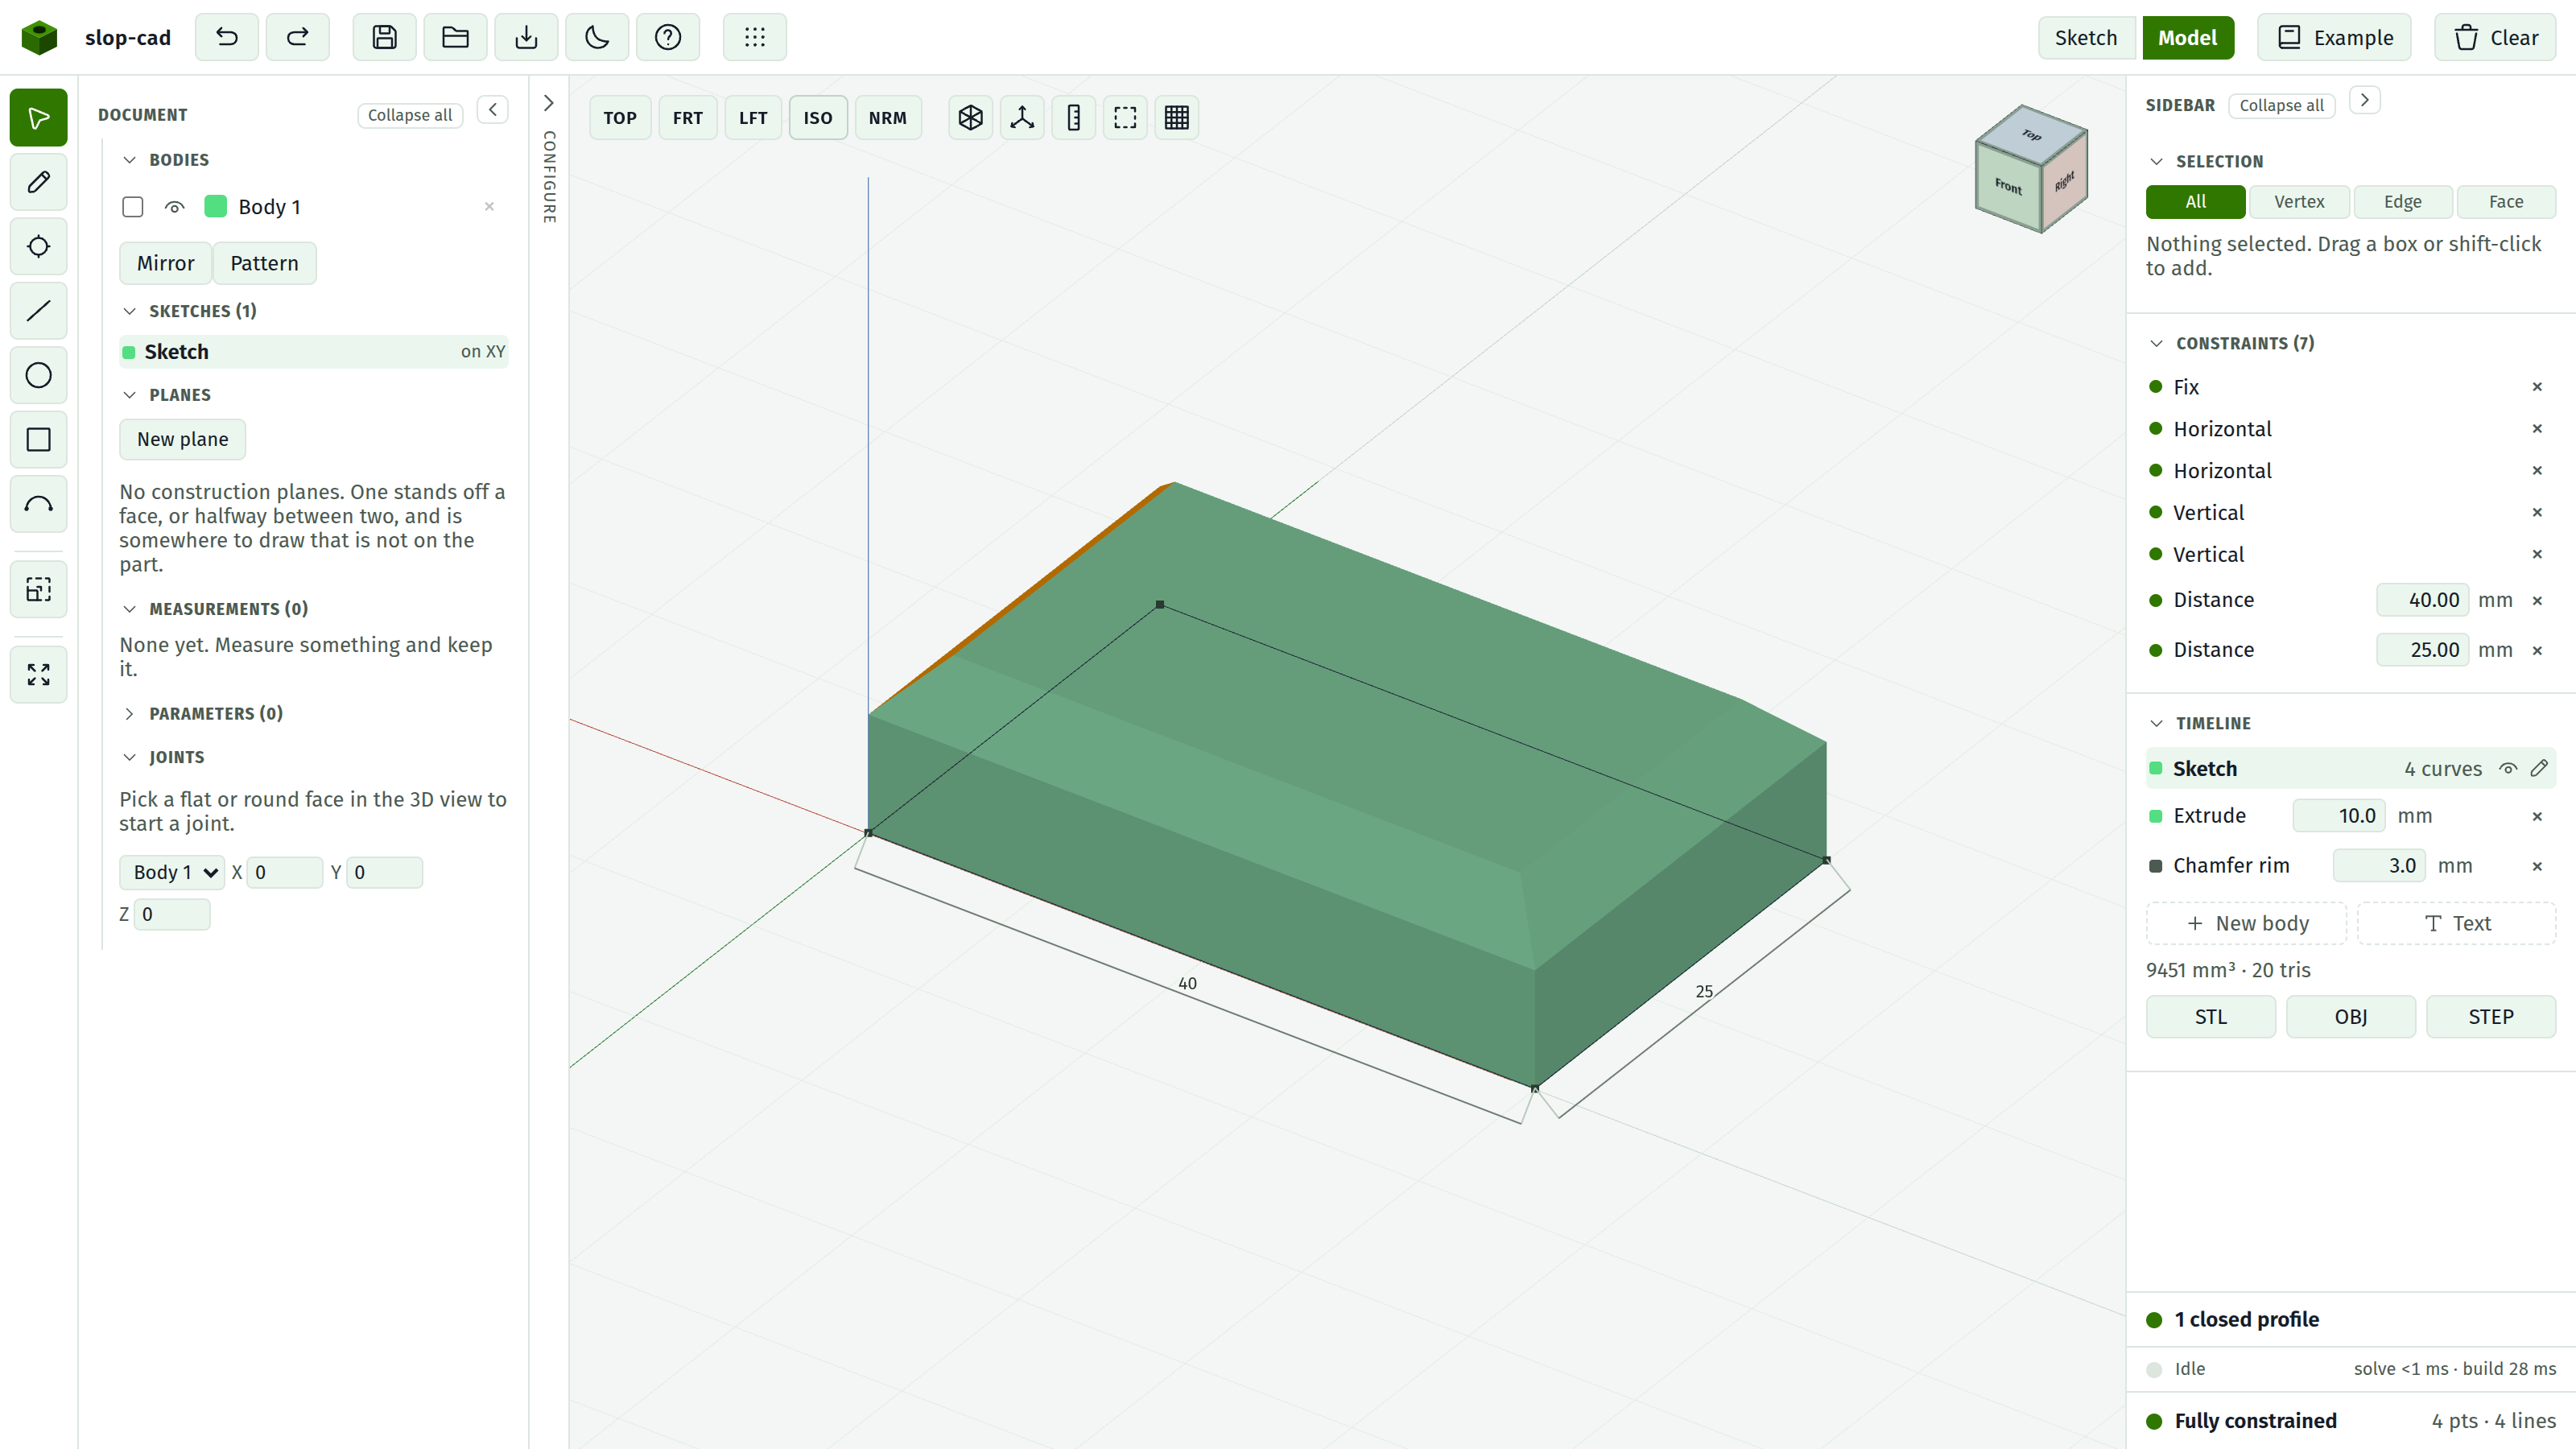
Every edge around that face's outer boundary rounds in one pass, and the corners meet properly because they were mitred together.
A Fillet rim row appears in the Timeline with a live size field.
2. Why one pass
Blending those four edges one at a time would give you four separate blends that have to meet somewhere. Where two meet, the result can be imperfect, and in the fallback case it can leave a small spike of material.
One pass mitres the corner. Whenever a rim blend would do, use it.
3. The holes stayed sharp
Look at the two 8 mm holes and the slot. Their rims are untouched.
A rim blend takes the outer boundary only. Holes through the face keep their own rims, which is usually what you want since they often need a different size.
4. Round a hole
Set the select mode to Edge 3. Zoom into one of the holes and click its top rim.
The Selection section reports the two faces meeting at that edge, and offers a Size and a Reach.
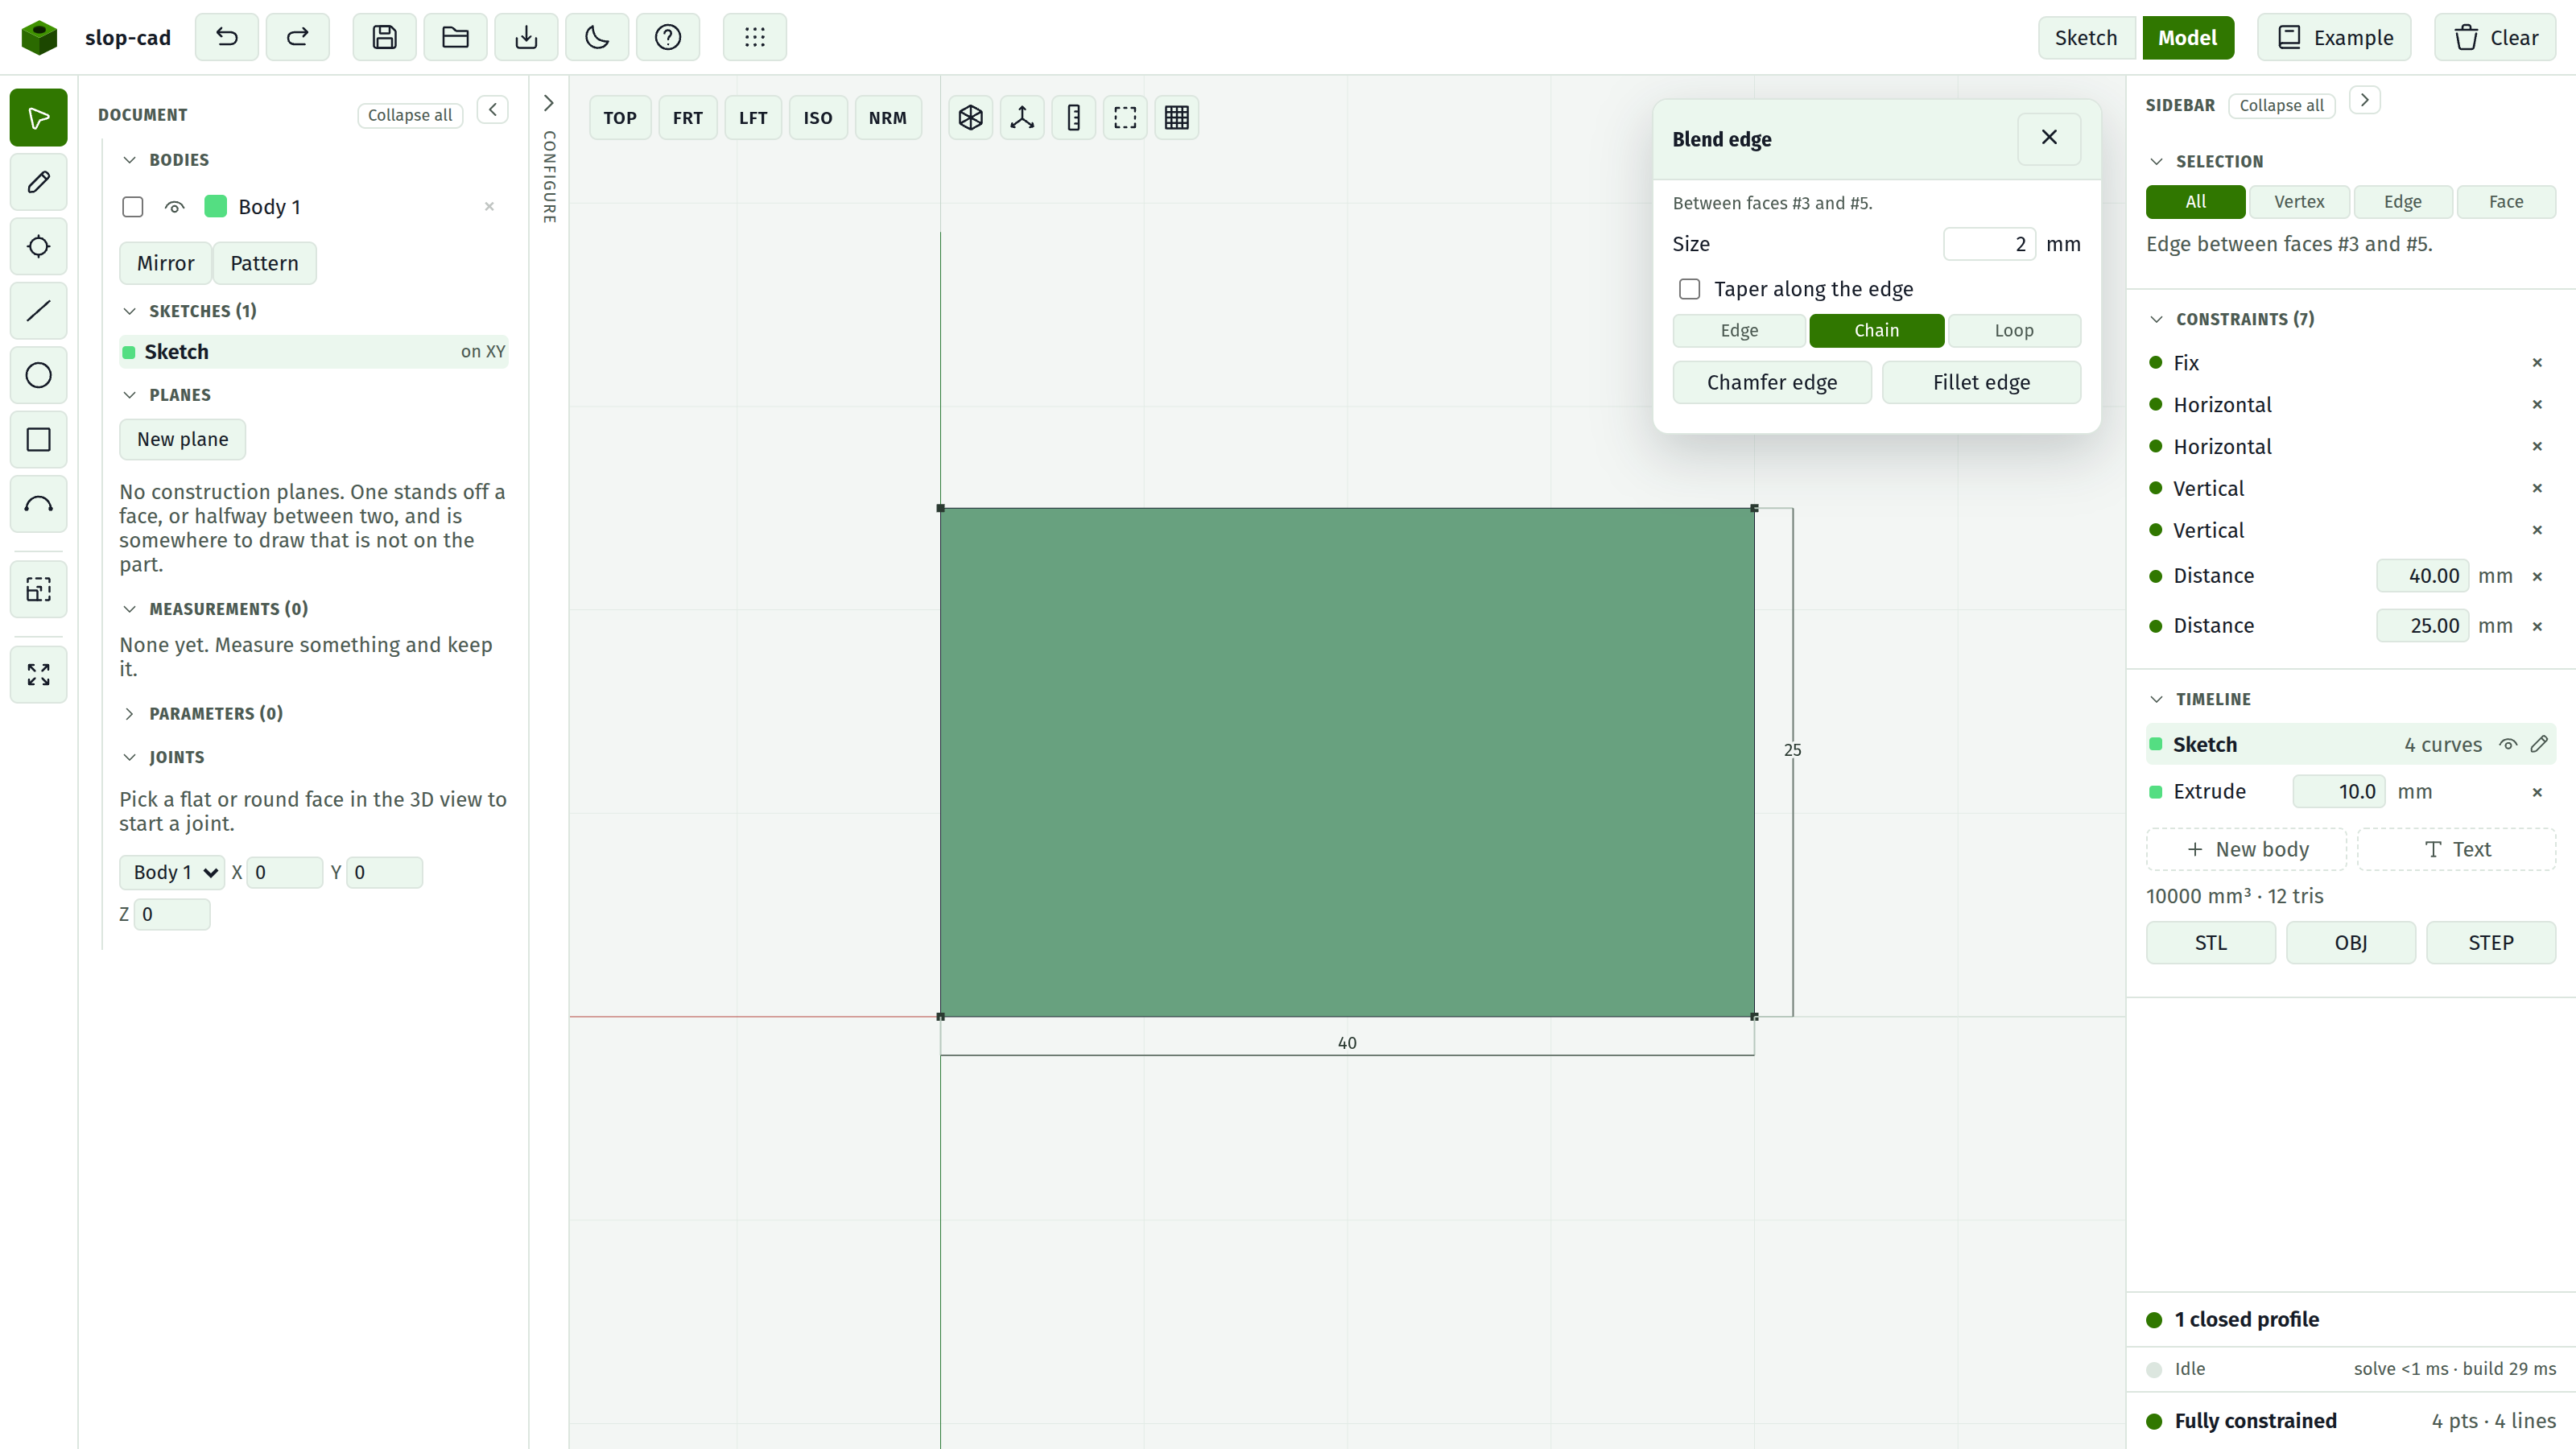
Set the size to 1 and the reach to Loop, then press Fillet edge.
Loop takes the entire loop that edge belongs to, corners and all, which is exactly what a circular hole rim is. This is the answer to "how do I round a hole", since a rim blend leaves them sharp.
5. The three reaches
| Reach | Takes | Use for |
|---|---|---|
| Edge | This edge alone | When the neighbours must stay sharp |
| Chain | On through every tangent junction, stopping at the first corner | A boundary flowing smoothly through arcs |
| Loop | The whole loop, corners included | A hole rim |
Chain is the default and is usually right. Where geometry flows smoothly it keeps going; where there is a genuine corner it stops.
6. Chamfer the boss
Set the select mode to Face 4 and click the top of the boss.
Set Rim to 1 and press Chamfer rim.
Chamfer and fillet take the same single number, meaning different things: for a chamfer it is the setback along each face, giving 45 degrees; for a fillet it is the radius.
7. Blends ride edits
Click the plate's sketch row, change the 60 to 70, and press Enter.
Back in Model: the plate is longer and every blend is still there, on the corresponding edges of the new shape.
A blend names its edge by the two faces meeting at it, rather than by a number, and those faces still exist after the edit.
Set it back to 60.
8. Adjusting a blend
The Timeline rows carry live size fields. Change the fillet from 3 to 5 and watch it rebuild. The × removes a blend.
Removing a blend is outside undo, so it is a decision rather than an experiment.
When it refuses
That face is one the kernel could not name; blend a different one. The face has no stable identity, most often because it was itself produced by a blend. Another reason to blend last.
Also refused, with no workaround:
- A rim that turns a corner into a round wall, such as the cap of a sector.
- A chain crossing between faces, so you cannot ask for one blend running around the boss rather than along a single face's boundary.
- A cylinder whose axis crosses the edge.
See blends.
What you did
- Blended a whole rim in one pass, and saw why that mitres properly
- Found that holes keep their rims, and rounded one with the Loop reach
- Learned what the three reaches take
- Watched blends survive an edit to the sketch underneath
Next
A parametric edit, which is where all of this pays off.