
Appearance
A pocket and a cut
Continuing from a boss on a face. Carve a recess into the boss, then cut a slot through the plate.
1. Sketch on the boss
Switch to Model, press Iso, set the select mode to Face 4, and click the top of the boss.
Press Sketch on face, then press Sketch to work flat.
The origin is again the centre of the face you picked, which is the top of the boss.
2. Draw the recess
Press C, draw a circle near the middle, and dimension it: click it, press Diameter, type 12.
Pin the centre with the X and Y fields, both to 0.
Fully constrained.
3. Cut it
Press E. In the dialog, choose Cut, type 4, and press OK.
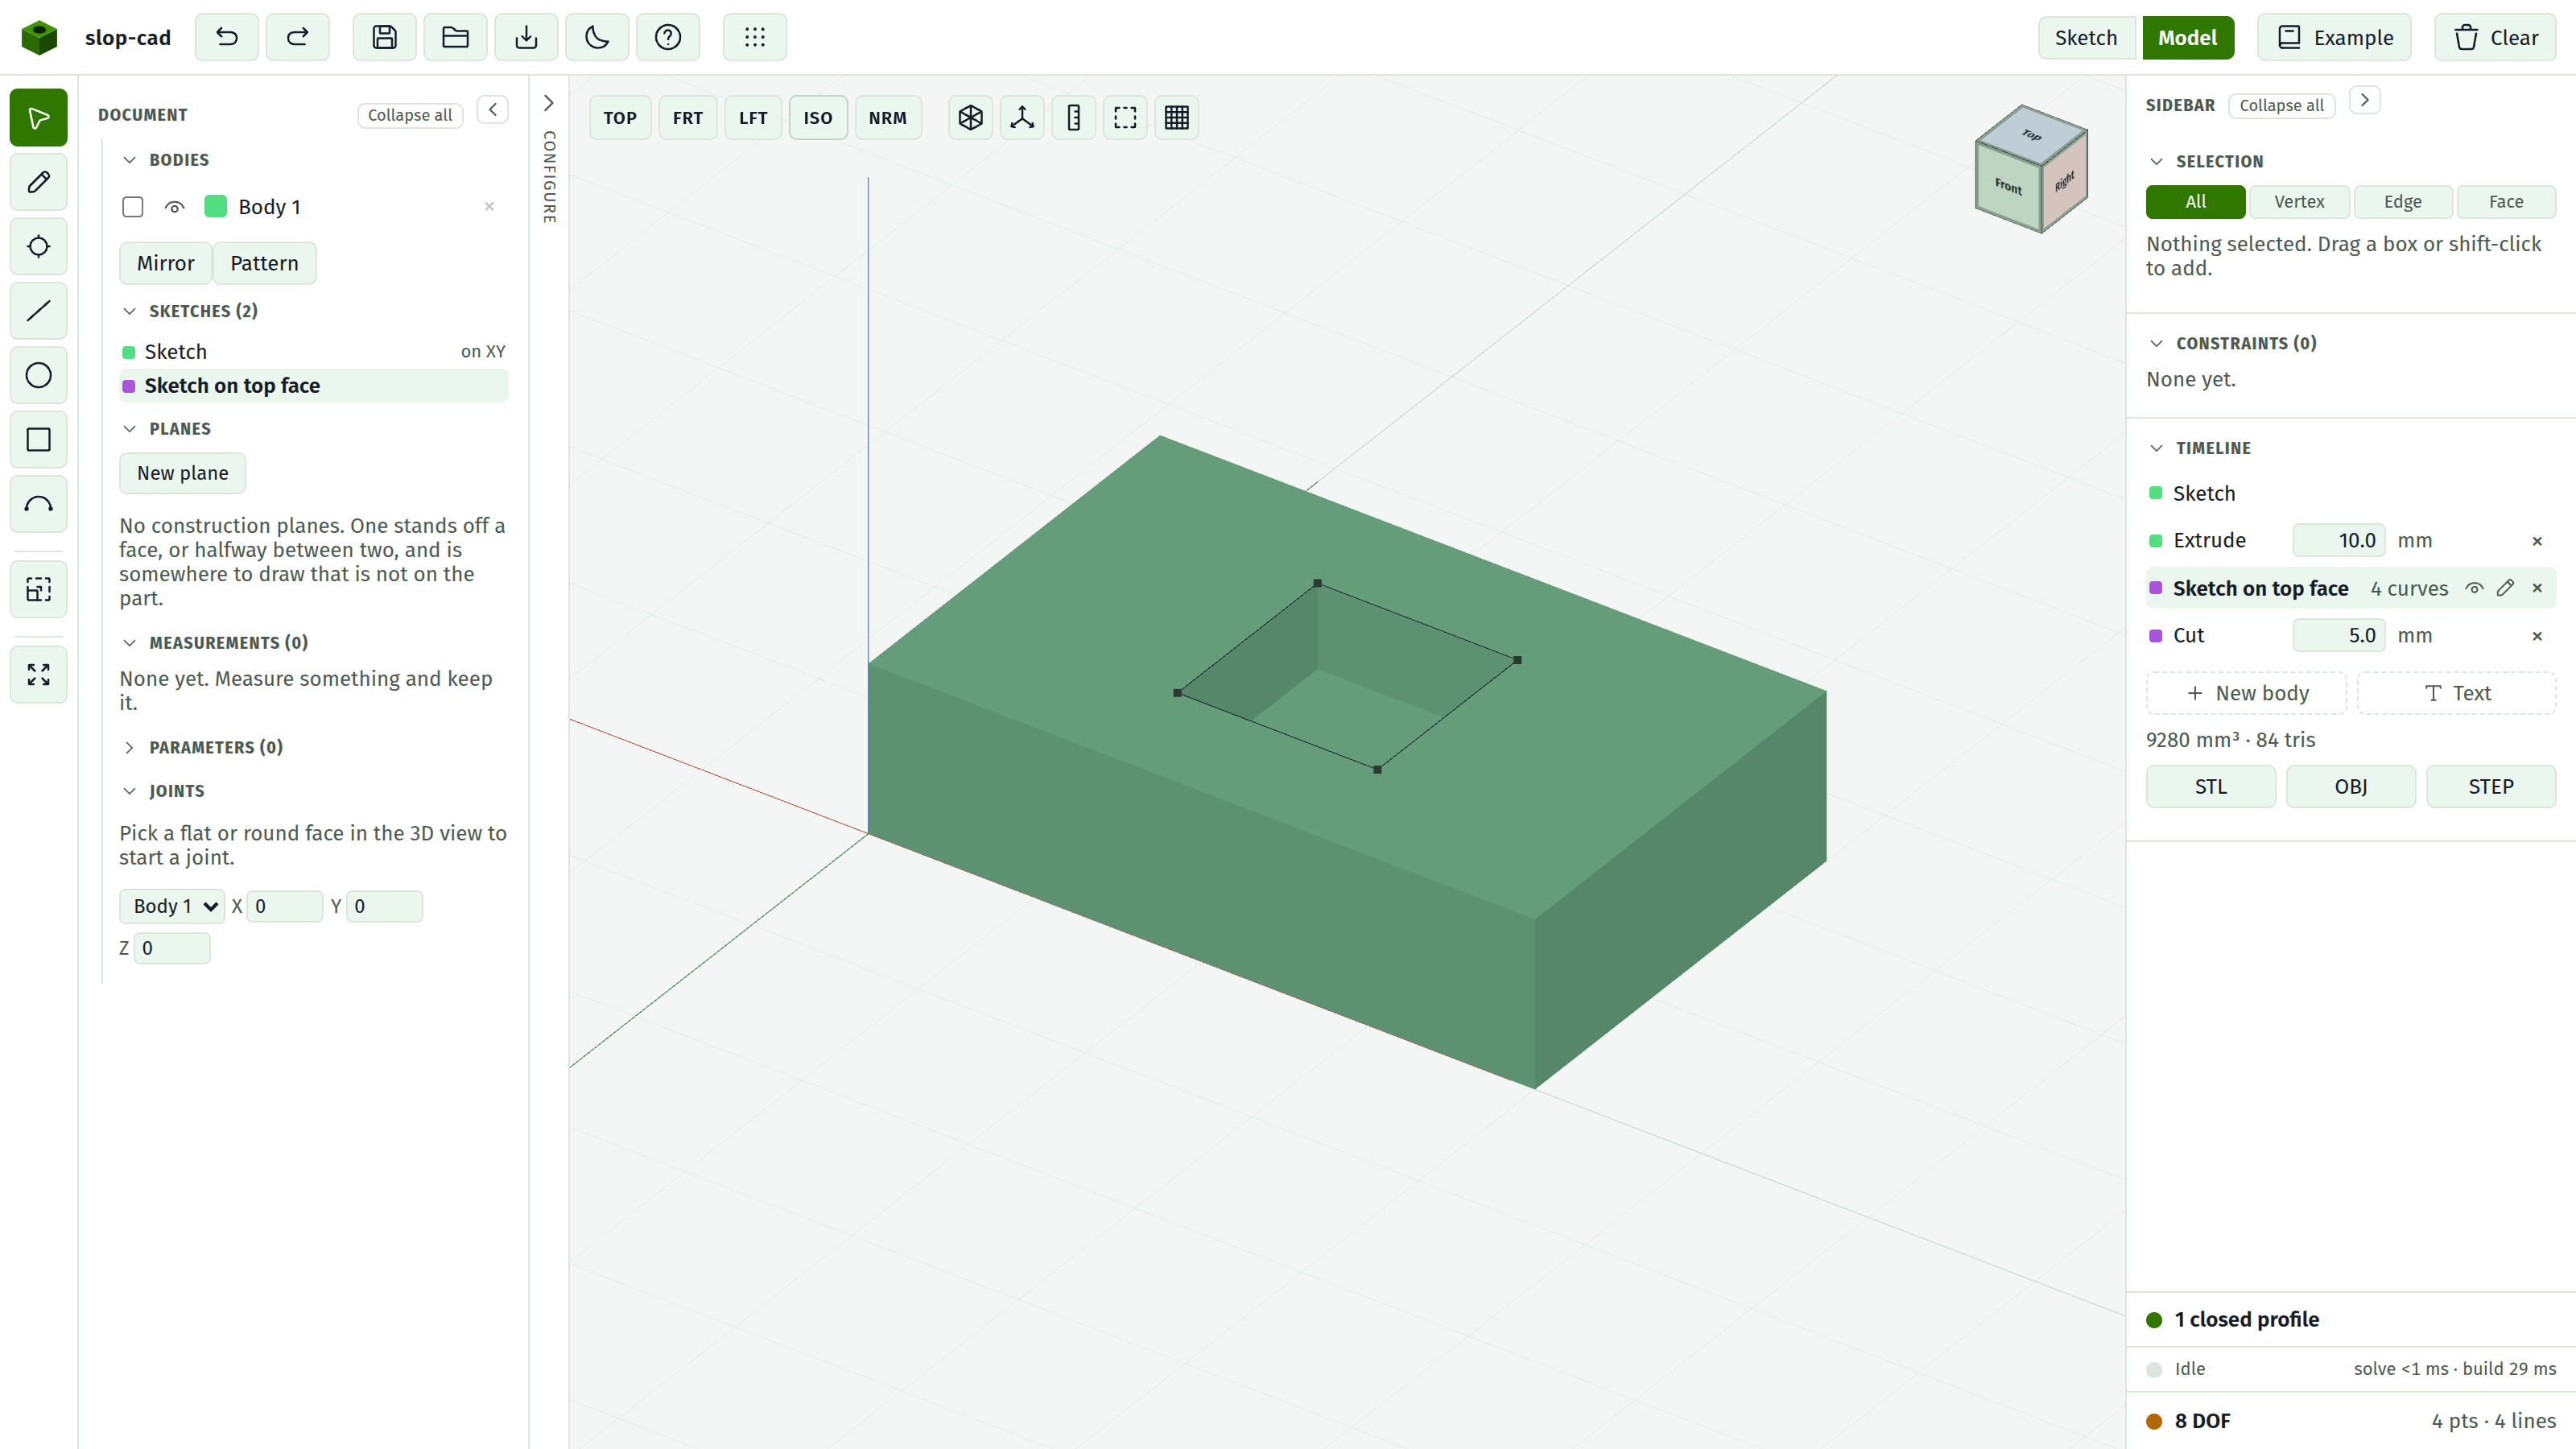
The Timeline row reads Cut. The volume goes down, by roughly the cylinder you removed.
You now have a plate with a boss with a recess in it, all parametric.
TIP
Watch the volume every time. It is the fastest confirmation that a cut removed what you intended, and the fastest sign that something did not build.
4. Where cut is not offered
Click the first sketch row, the plate on the world plane.
Look at the extrude controls. There is no Add or Cut toggle.
A base sketch always adds. Cut is offered only on a sketch drawn on a face, because a cut is positioned by the face it was drawn on, and a sketch floating on the world plane has no established relationship to the material to cut from.
So: to remove material, draw the cut on the part.
5. A slot through the plate
Go back to Model and pick the top face of the plate, not the boss. Click somewhere away from the boss and away from the two holes.
Press Sketch on face, then Sketch.
Press D for the Pencil and draw a small closed rectangle out near one end of the plate. Hold Shift for each segment so they axis-lock, and click the first point again to close the loop.
Check the profile row reads 1 closed profile.
6. Cut it all the way through
Press Model, choose Cut, and type a distance larger than the plate is thick, say 20 against the plate's 8.
A cut that overshoots goes all the way through. There is no through-all option; you give it a distance long enough.
7. Midplane, and why it is ignored here
Tick Midplane on a cut and nothing changes. The checkbox is only meaningful for an add.
The reason: a cut is placed by the face it is drawn on. Straddling that face would put half the cut outside the material, carving air.
Midplane earns its keep on a base sketch, where the sketch plane is a symmetry plane of the part and you want the solid to grow evenly both ways.
What refuses
Two cases where a cut is reported rather than performed. The Timeline shows Body build in amber and the message names it:
- A cut with a hole in its profile that reaches the far side of the body.
- A new base body overlapping existing material in a way that cannot be resolved.
In both cases you are shown the separate pieces rather than the finished solid, so the model is still readable while you fix it.
What you did
- Cut a recess into a face
- Found out that cut needs a face sketch
- Cut all the way through by overshooting the distance
- Learned why midplane does nothing on a cut