
Appearance
Navigate in 3D
Press Model in the top bar. It is disabled until a solid exists.
Moving the camera
| Gesture | Action |
|---|---|
| Left drag | Orbit |
| Scroll | Zoom |
| Right drag | Pan |
Motion stops when the drag does.
A hint strip states these the first time you arrive. Dismissing it is remembered.
The navigation cube
The cube in the top right corner turns as you orbit, so it always shows which way round the model is.
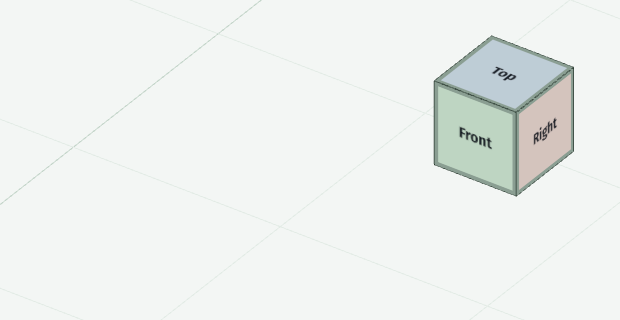
Click it to aim the camera. A face looks straight down that axis, an edge looks down the 45 degrees between two faces, and a corner gives an isometric view.
This is the fastest way to get a specific three-quarter view, and it reaches twenty-six directions where the four named views reach four.
Standard views

TOP, FRT, LFT and ISO, in the row along the top of the view, each framing the model along that direction. Each has a key too: Alt plus its first letter.
TOP is the useful one for picking edges: it flattens the part so its outline sits near the canvas border, which makes the silhouette edges easy to hit.
ISO is the useful one for looking at the result.
NRM (Alt+N) is the one that follows your work instead of the axes: it looks square at the active sketch's plane, or at the construction plane most facing you when no sketch is open, staying on the side of it you are already on. Once a sketch sits on a face, this is the button that lines the view up with it in one press.
Orthographic or perspective
The last mark in the row switches projection, and its icon shows which you are in.
Orthographic is the default and the one to model in. A feature projects at the same place whatever its depth, so a sketch drawn on a face sits exactly on the feature built from it.
Perspective looks more like a photograph, which suits admiring a finished part. The cost is that a sketch on a boss's base reads as offset from the boss, and the offset grows the further the boss is from the centre of the view. Nothing is misplaced; that is what a perspective projection does to things at different depths.
The choice is remembered between sessions.
The camera stays put
The view frames the model once, when it first opens. After that, rebuilds leave your camera alone.
That is deliberate: editing a dimension repeatedly should not yank the view around every time. If you lose the model, press one of the view buttons to reframe.
X-ray
The X-ray button makes the solid translucent, so a sketch on a face and the geometry behind it stay visible.
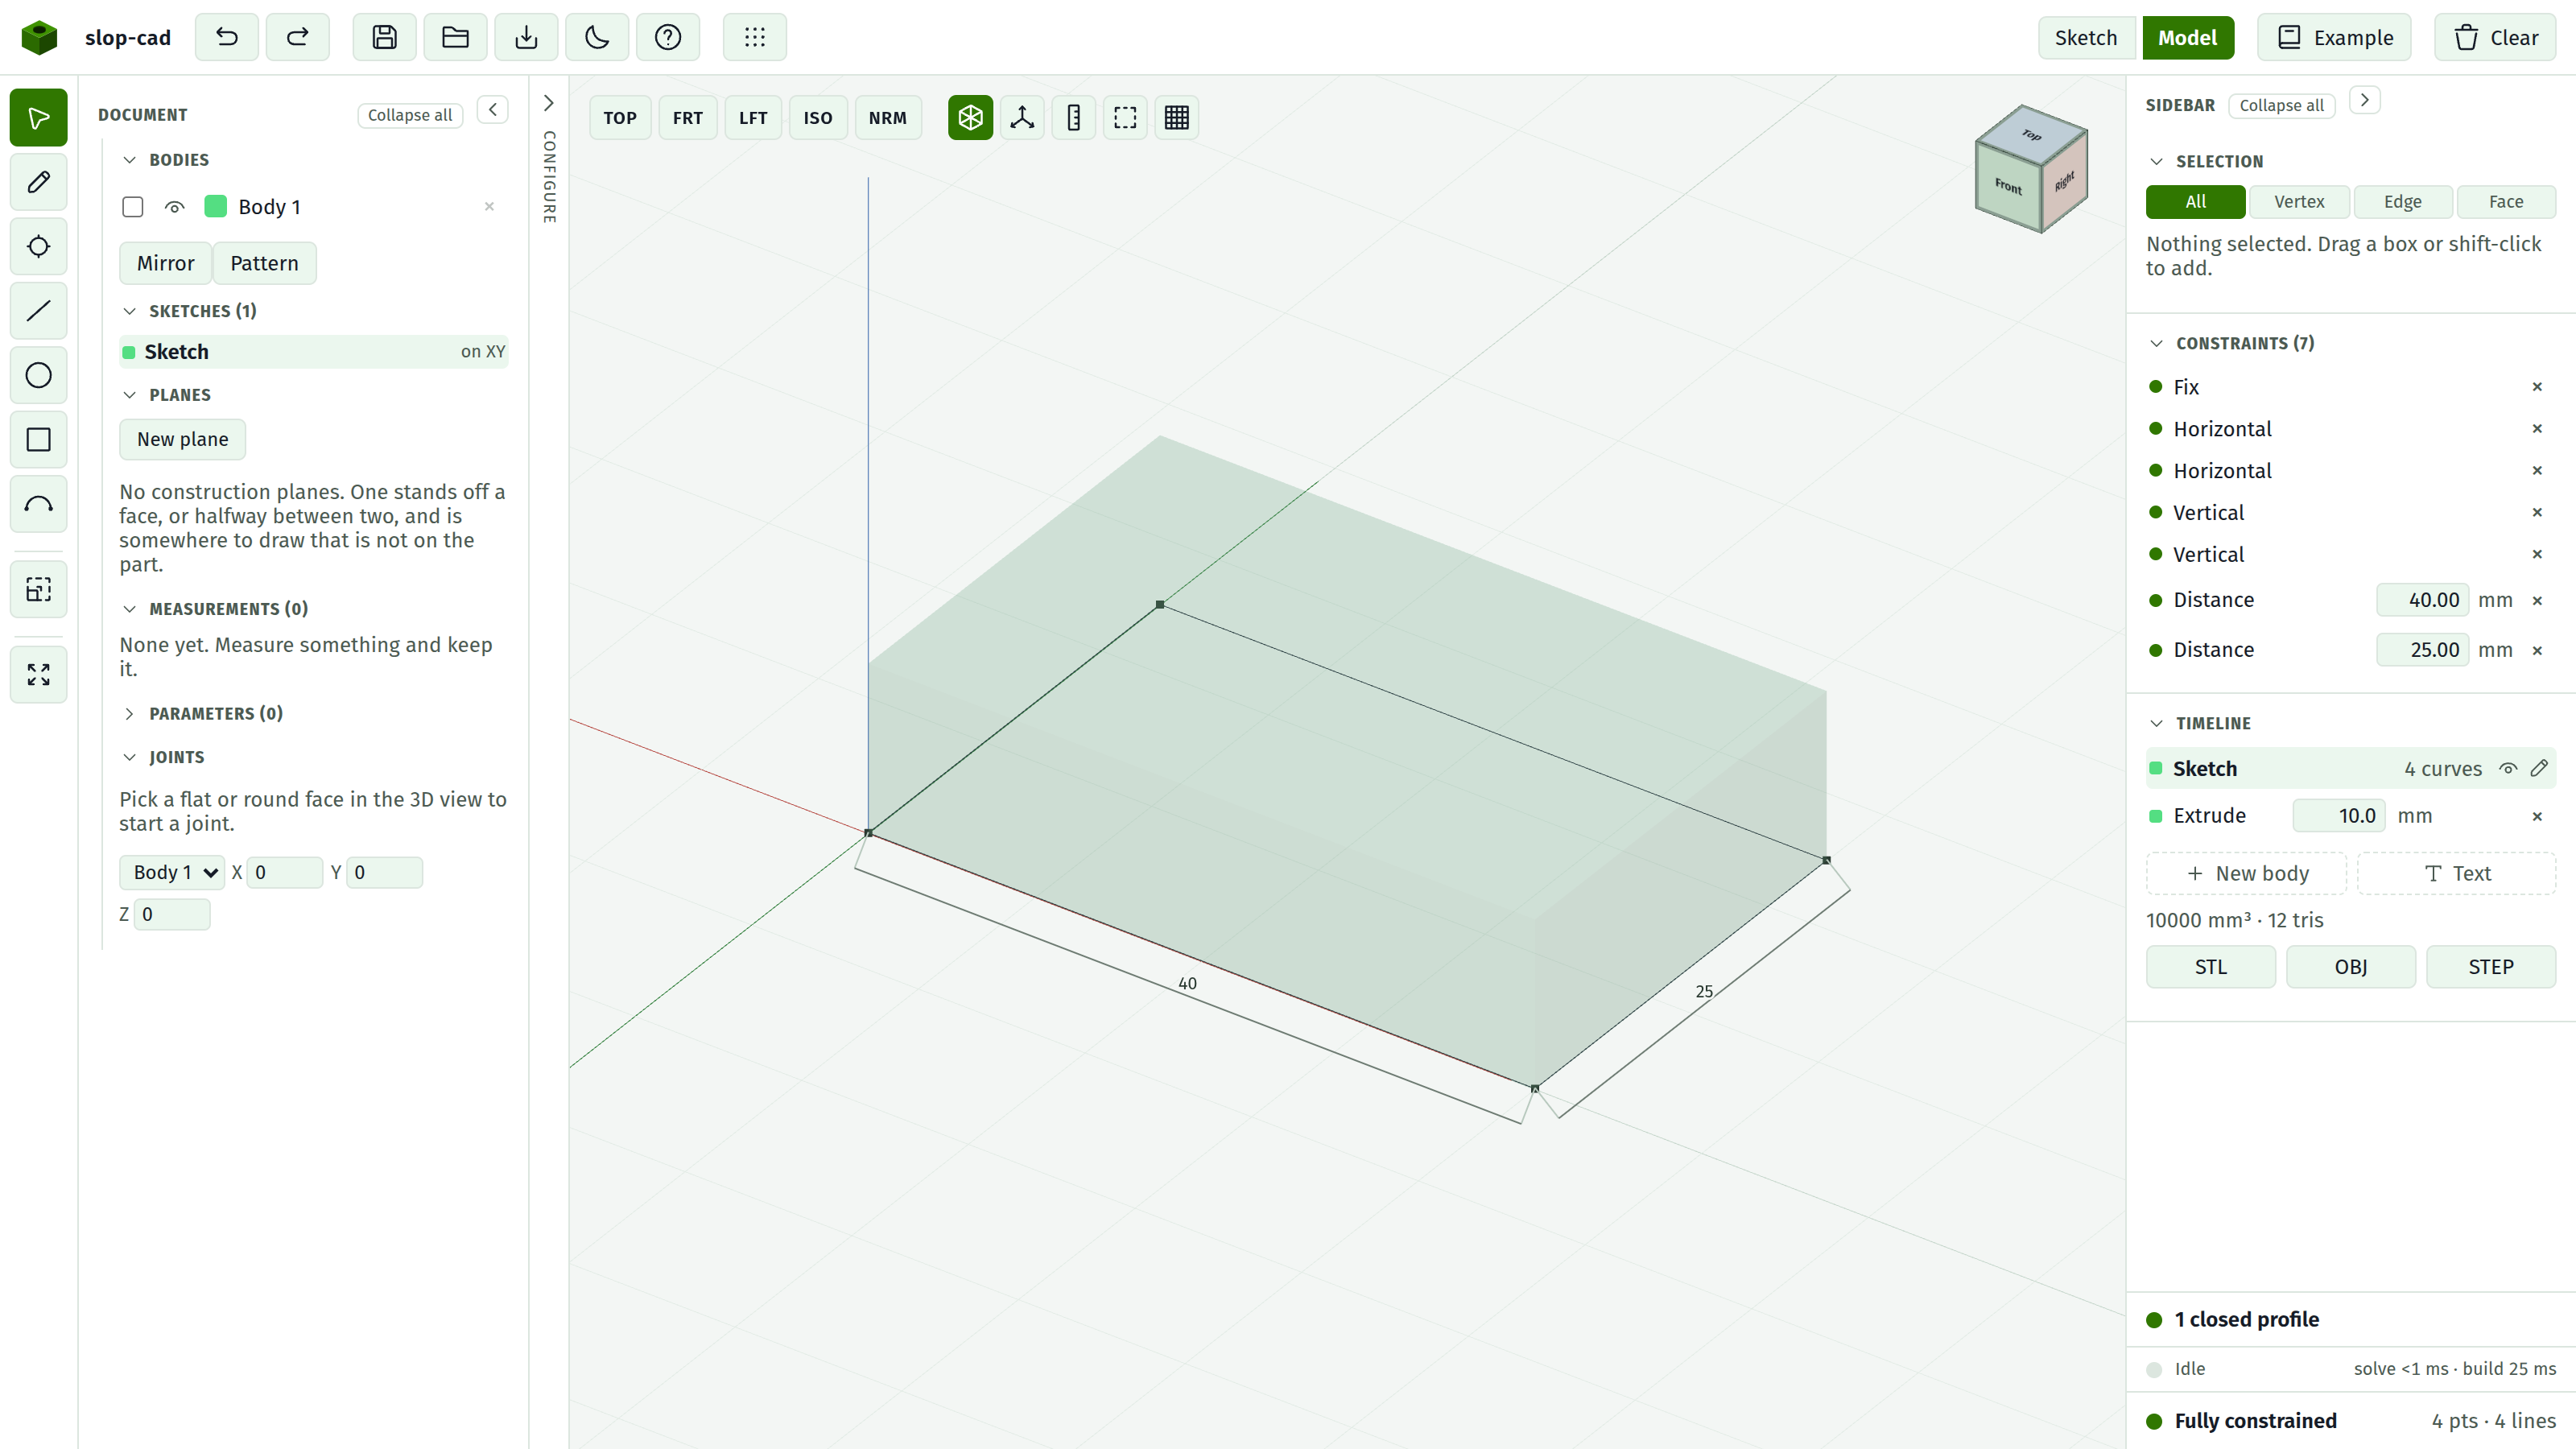
Reach for it when drawing on a face that faces away from you, or when checking that a pocket lines up with something on the far side.
It is a toggle, it survives rebuilds, and it resets when you reload.
Orientation
The axis triad shows red for X, green for Y, blue for Z. Z is up. A 400 mm ground grid sits underneath for scale.
Picking
A click that barely moves is a pick; a click that drags is an orbit. So you can drag freely without selecting things by accident.
What you pick depends on the select mode:
- All picks an edge when you are within a few pixels of one, otherwise the face.
- Face 4 picks faces only. Use this when you keep catching edges.
- Edge 3 picks edges only. Use this when you keep catching faces.
- Vertex 2 picks corners only.
Click empty space to clear the pick.