
Appearance
Constraint badges
A small glyph beside a piece of geometry, naming the constraint that holds it.
The status foot says how much of a sketch is still free. The docket lists what is holding the rest. Badges join those two up on the drawing itself: which line is the horizontal one, which two curves the tangent is between, which point somebody fixed.
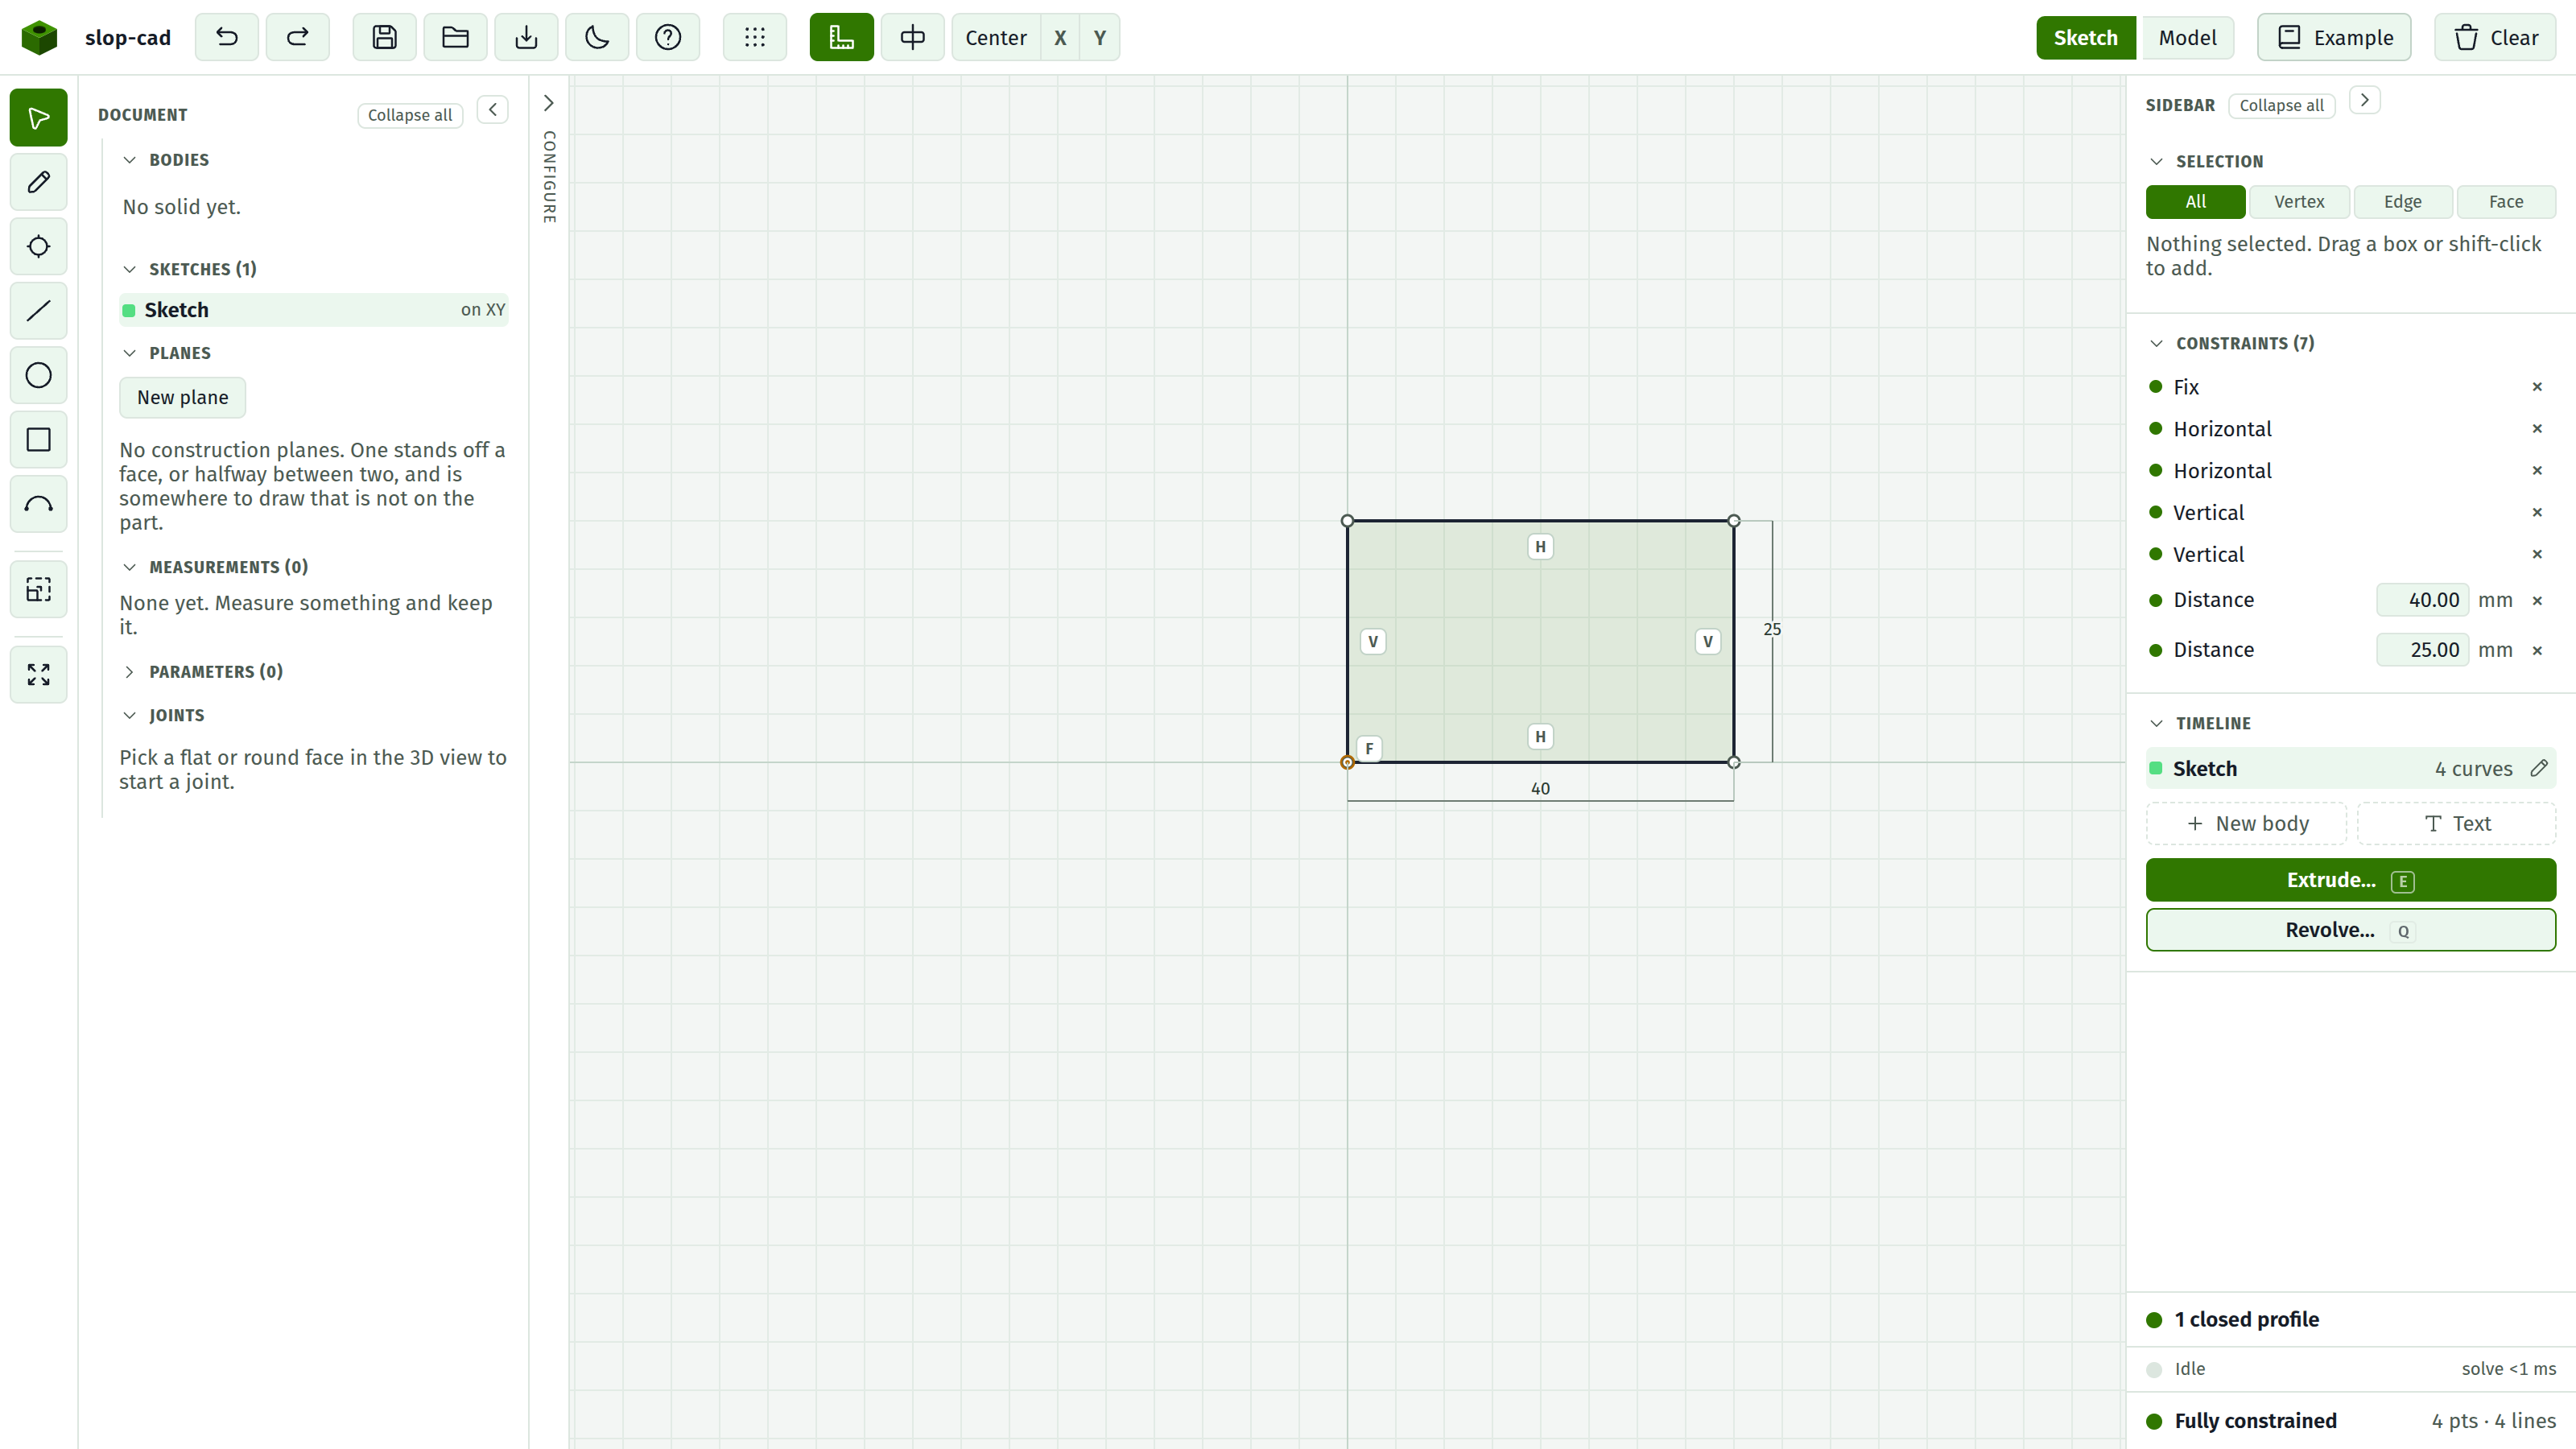
The glyphs
| Glyph | Constraint | Sits on |
|---|---|---|
| H | Horizontal | The line |
| V | Vertical | The line |
| ∥ | Parallel | Both lines |
| ⊥ | Perpendicular | Both lines |
| T | Tangent | Both curves |
| = | Equal | Both curves |
| ● | Coincident | The point the two share |
| ○ | Point on curve | The point |
| M | Midpoint | The point |
| S | Symmetric | Both points |
| F | Fix | The point |
Hovering a badge names it in full, and says so if the solver is unhappy with it.
Dimensions have none
The five dimensions already draw themselves. A number on the canvas is the constraint, so Distance, Distance to line, Angle, Radius and Diameter get an annotation instead of a badge. Badges are exactly the constraints that had nothing on the drawing before.
A relation marks both ends
Parallel, Perpendicular, Tangent, Equal and Symmetric each put a glyph on both things they hold. One glyph on one line would say the line is parallel without saying what to.
Everything else marks one thing: a Fix pins one point, a Midpoint centres one point, and a Coincident puts a single dot where the two points meet, since a second dot in the same place would read as a second constraint.
Clicking one
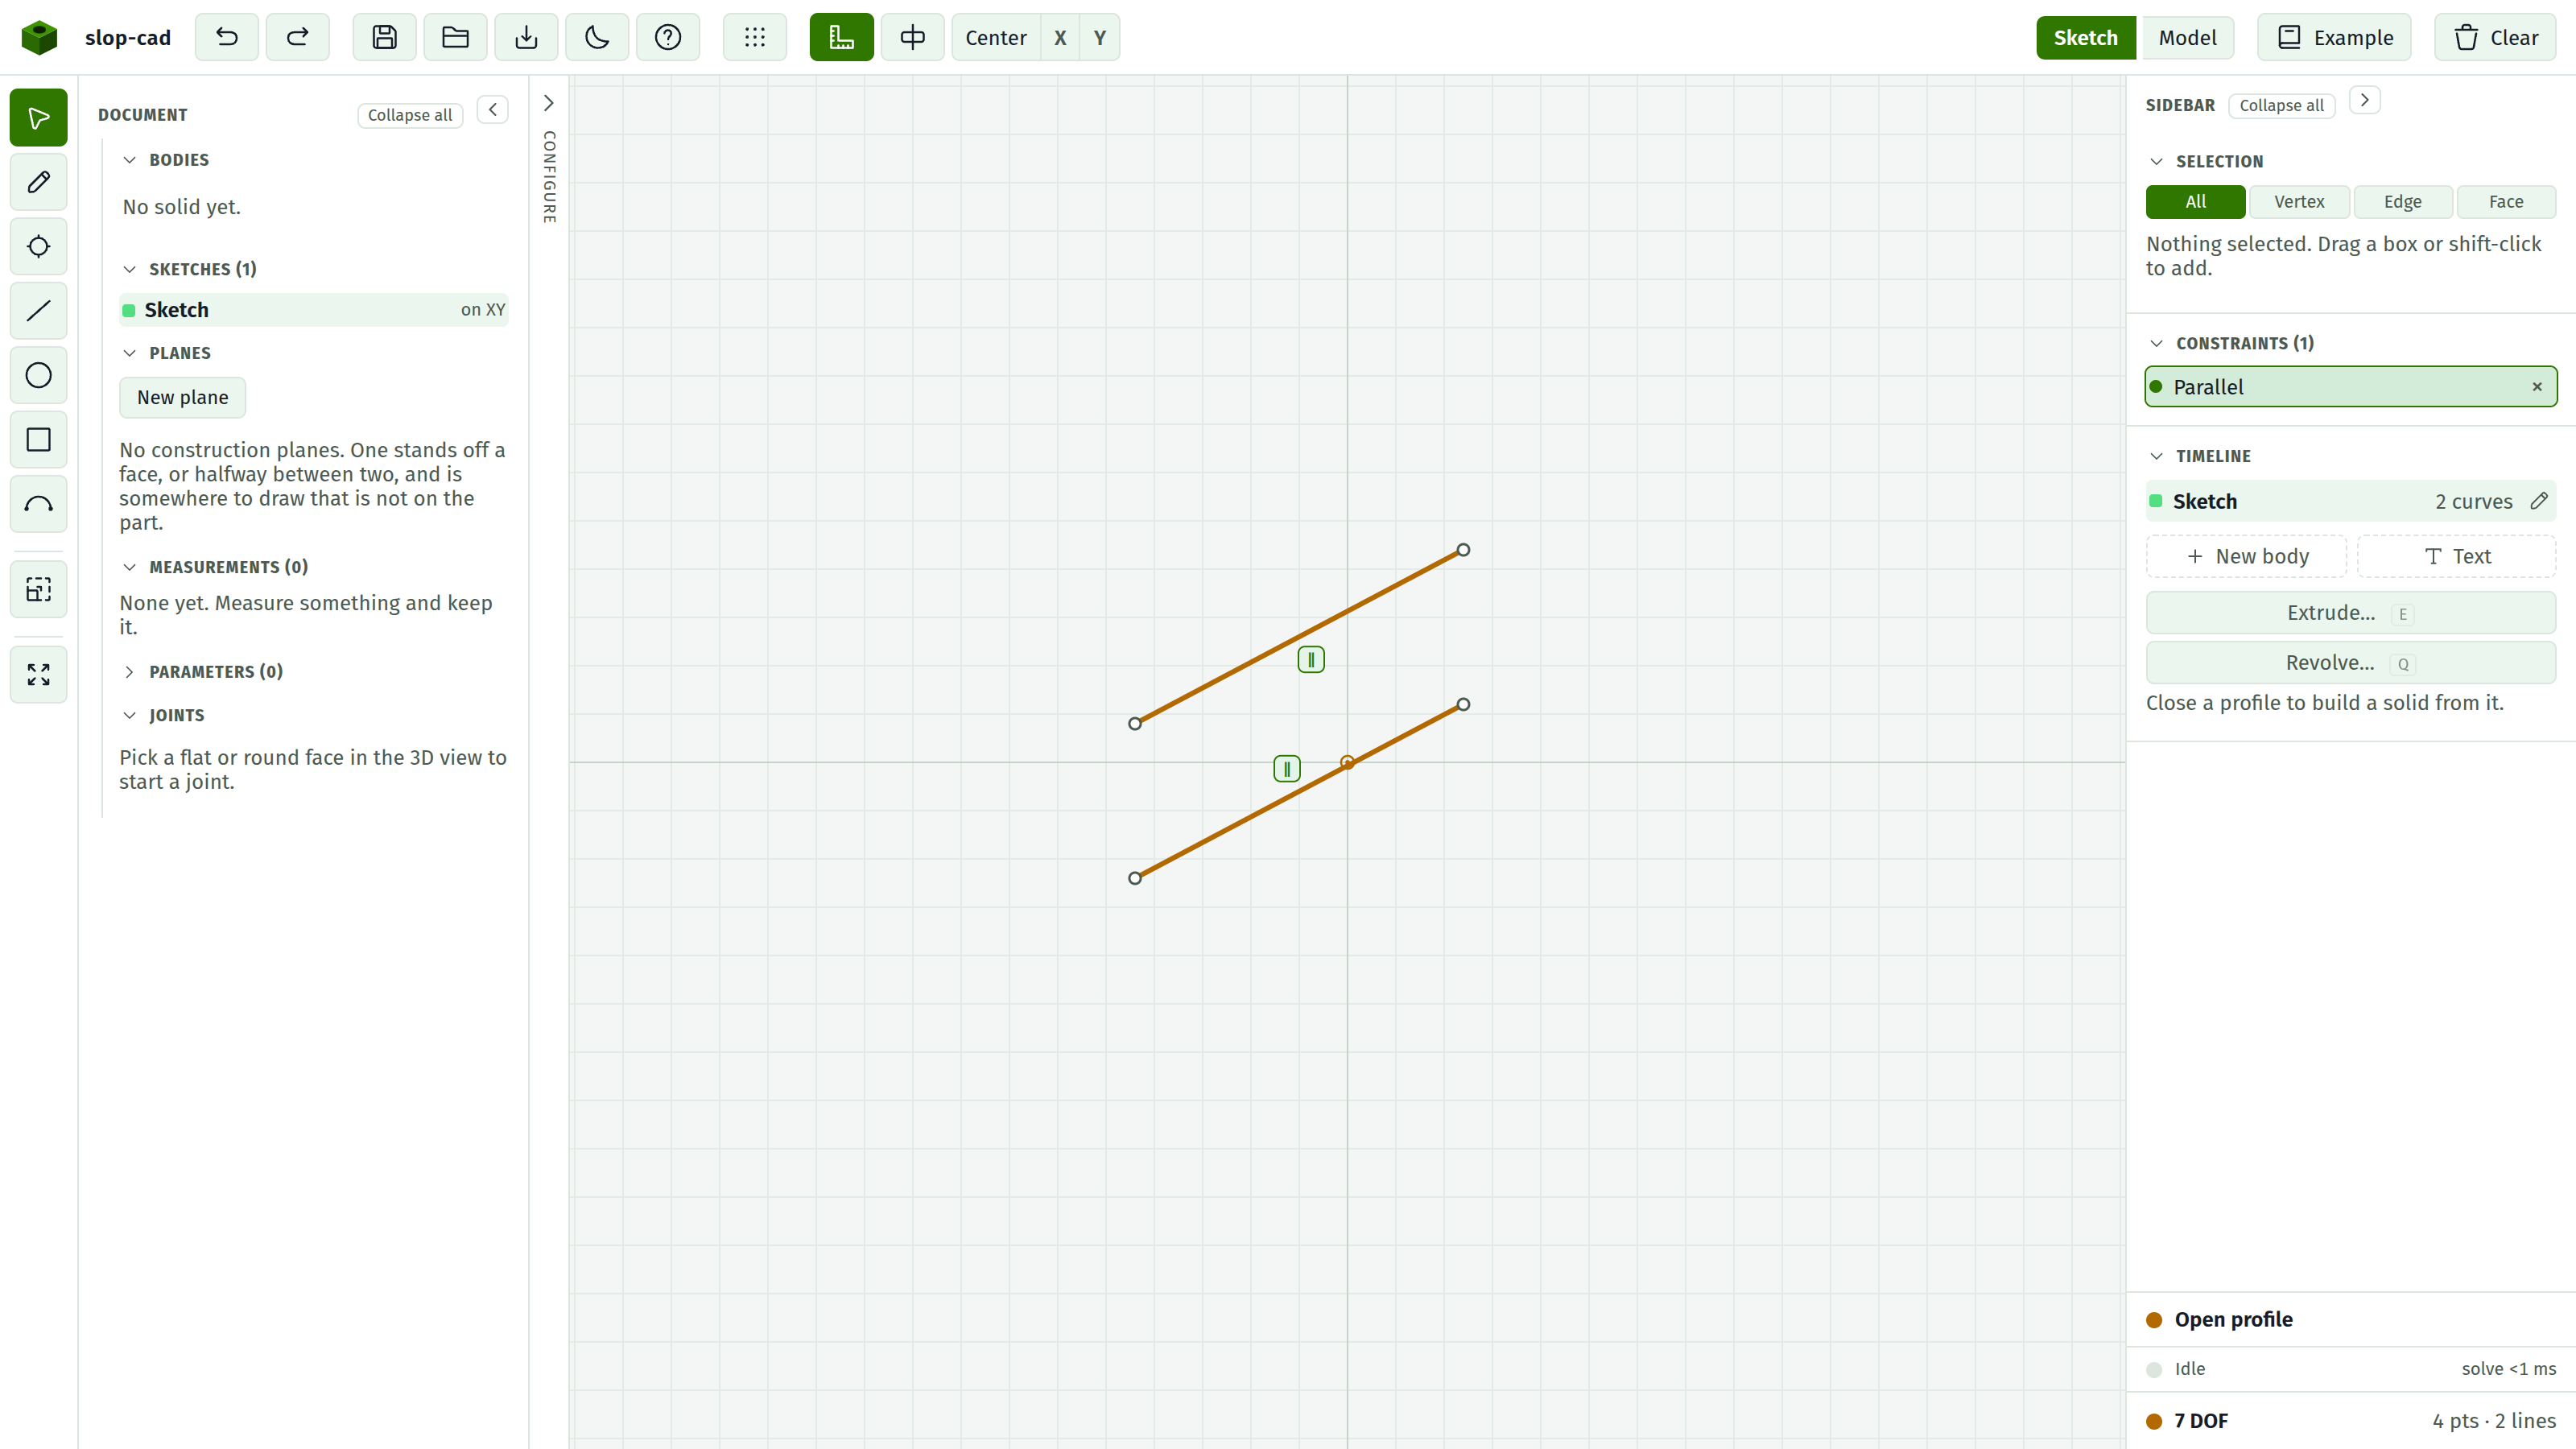
Hover a badge and the geometry it names lights amber. On a two-ended relation that means both ends, which is how one glyph points at the other.
Click it and the constraint is picked out in the docket: its row is outlined, and the list scrolls to it. This is the reverse of the docket row that has always highlighted geometry, so the two ends of a constraint now reach each other from either direction.
Clicking anywhere on the canvas drops the pick, and so does Esc.
Where they sit
Badges lean toward the middle of the drawing. Dimension annotations default outward, so the two sets of labels stay off each other without either having to know about the other.
Two badges that would land on the same spot are pushed further out along the same bearing, so a line carrying three constraints reads as one row of glyphs leading away from it.
They are placed in screen pixels, so they keep their size and their spacing at any zoom. Panning and zooming moves them with the geometry.
When one is red or amber
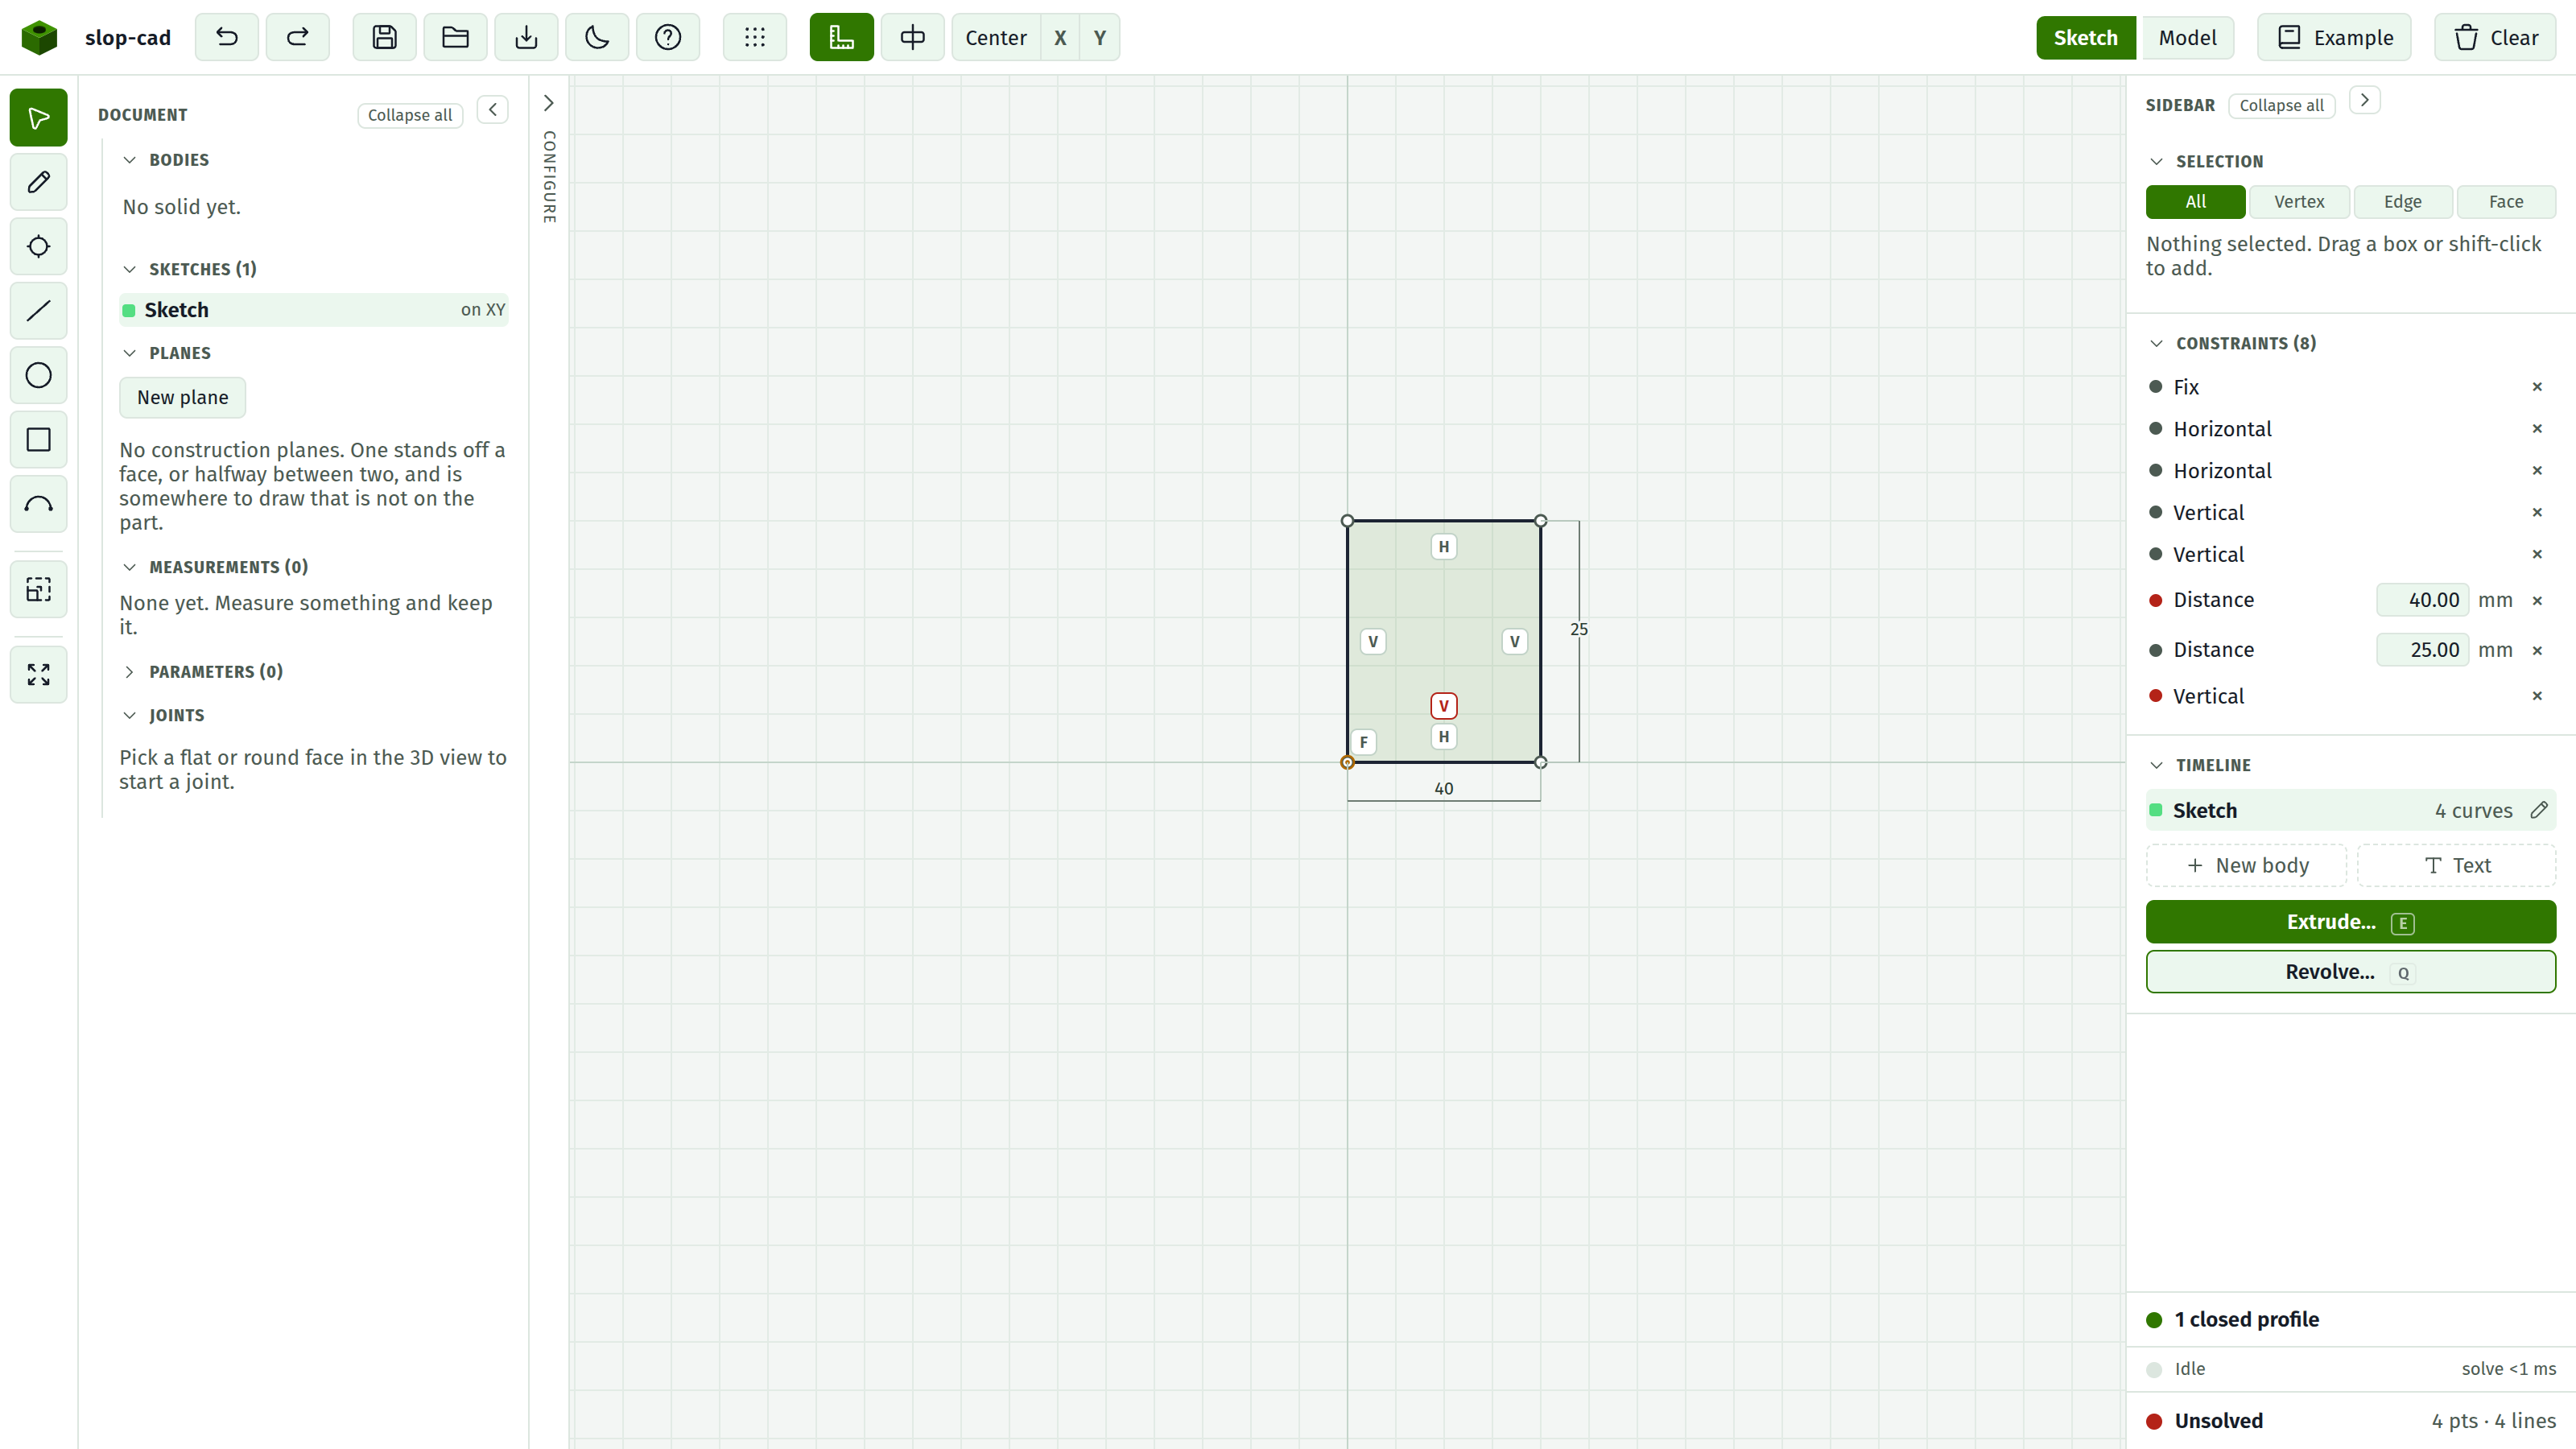
A badge wears the docket's state colours.
| Colour | State | What it means |
|---|---|---|
| Grey | Solved | Satisfied, and doing work |
| Amber | Redundant | Satisfied, but something else already forces it |
| Red | Conflicting | It cannot hold alongside the others |
The docket has always said that something is wrong. The badge says where. See diagnosing a sketch.
Turning them off
Press B, or use the set-square button in the top bar. The choice is remembered between sessions.
A drawing with a hundred constraints on it is where the glyphs get in the way, and it is also where they earn their keep, so the switch is a keystroke rather than a menu.
What they are not
Badges are not selectable geometry. Clicking one picks the constraint out, and never adds to the selection or starts a drag box. Nor can a constraint be deleted from its badge: that is the docket's × , where the row also tells you what the constraint is worth.
Only the 2D sketch view draws them. The 3D sketch overlay has the solid's own depth to contend with and no room to park a glyph.
See also
- Constraint docket, the list the badges point into
- Constraints, for what each one means
- Diagnosing a sketch, for what to do when one is red